Showing posts with label greeting card. Show all posts

Tuesday, March 24, 2020

Boredom Buster Activities, Part II

Welcome!

All kaleidoscopes by inkspired, using KaleidaCam app


‘The only limits in our life
are those
we impose on ourselves.’
- Bob Proctor


My last blog was not complete
and I had promised to add to it,
so here we go!

I have been teaching since my first
Bible lesson flannelgraph
at the early age of 6 years old.
I am pretty sure I have gotten better with age!

I found similar ones from simoneoficinabiblica.blogspot.com

Now I stick with teaching crafts.
You name it, I have probably at least tried it, 
if not actually having taught it.

From Fresh Farmhouse, no photo credit

I’m a Craft Junkie.
There, I’ve admitted it!

From Jo-Ann Fabrics

What shall we start with?
Remember, these are boredom busters.
Things that will help keep you AND the kids
Happier.

Today is a beautiful day -
perfect for some sidewalk chalk painting.
This is easy to transition for any age or ability.
Why not do some scenes,
take photos and share them
with grandparents that cannot come visit right now?

B-Inspired Mama

You could read a book to the kids,
then recreate some of the scenes
outside, with chalk.

Some books I am thinking of that would be fun:

* Curious George
* Where the Wild Things Are
*King Bidgood’s in the Bathtub & He won’t Get Out!
(One of my favorites!)

Next Boredom Buster idea:

Tissue Paper Art
I found some fun, new-to-me techniques
that all use tissue paper.


Bleeding Tissue Paper (NOT ‘bleed proof’ permanent)
Plain white cardstock or similar 
Spray bottle filled with water

How to:
Place white card on a cookie sheet, 
or something that can get wet.
Randomly place tissue squares, circles, etc 
on plain white cardstock.


Saturate with water from spray bottle.
Let dry.
Brush off tissue paper scraps - done!


For older kids:
Use a paper punch to punch out shapes from your
finished tissue paper art.
Turn these into greeting cards,
Journal additions,
or refrigerator magnets.

Here is a beautiful ‘upgrade’ for your older kids to make:

From a Hearth and Vine magazine article, 2016


Next Tissue Paper project:

Tissue Paper Snow Art
Special effects with tissue paper and SNOW!
Part of the fun with this one is collecting the snow!

You will need:
a cookie sheet
White card stock
Tissue paper cut or torn into smallish shapes
Bowl of snow

How-to:
Arrange your tissue paper shapes on white card stock.
Cover card/tissue paper with snow.
As snow melts, you will see some 
beautiful and different results!
Let dry. Brush tissue paper off.

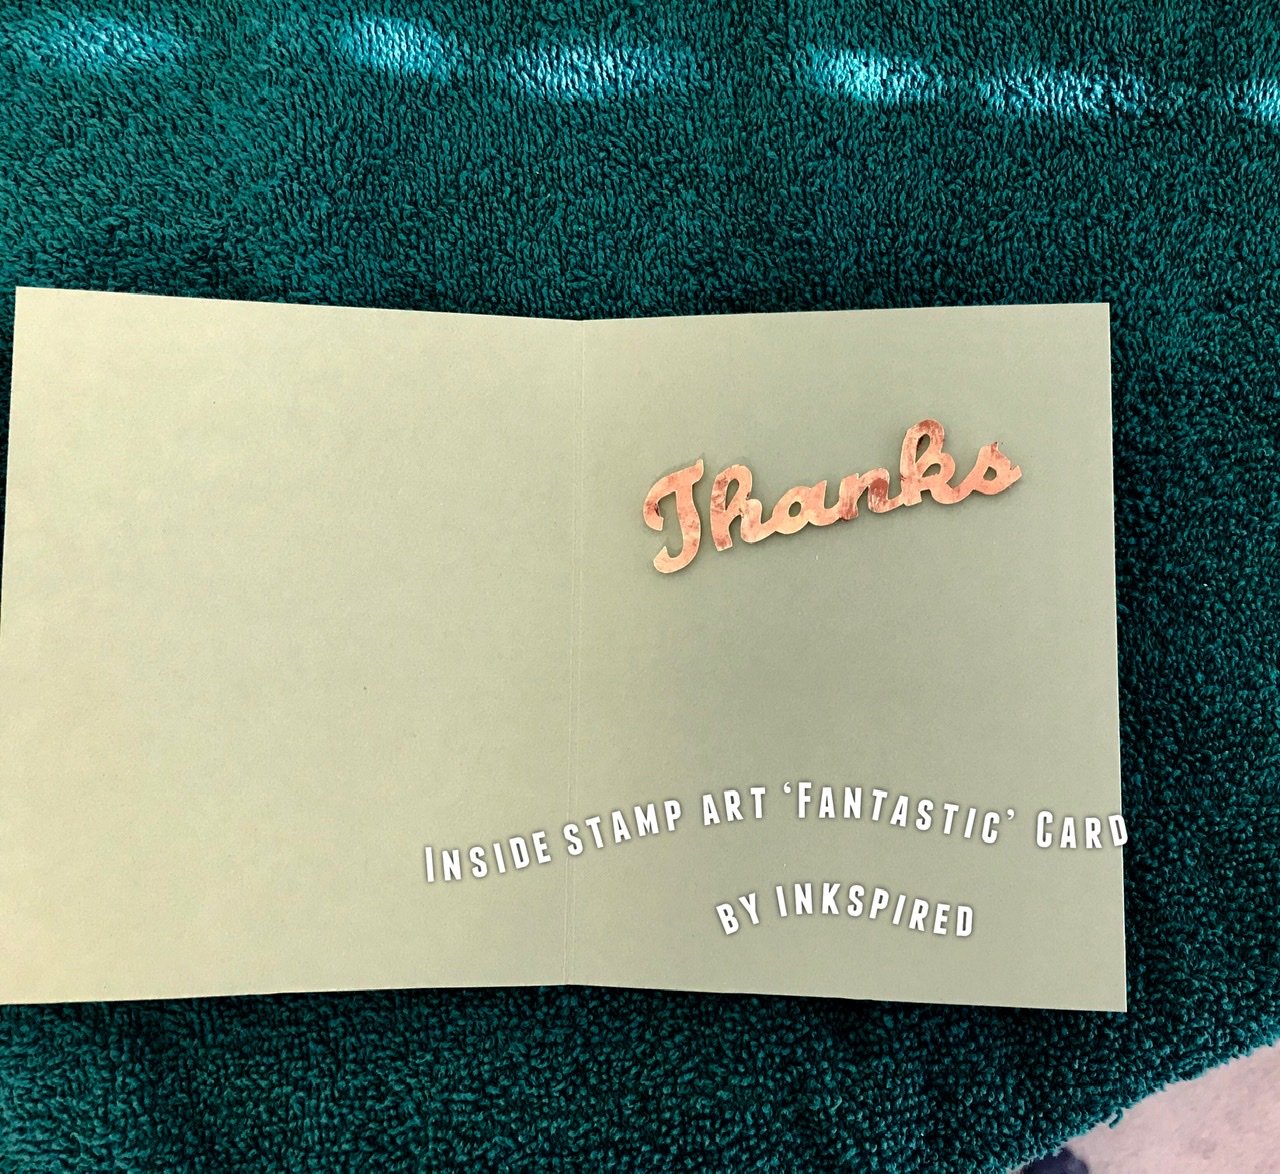
Snow covered tissue paper on white card stock

Stampingwithloll.com


This cardstock will make beautiful backgrounds 
for greeting cards.
For youngest kiddos cut a large, simple shape. Place on top of tissue paper finished art, and frame.
Or
Cut a largish shape from the finished tissue art cardstock and mount it on a coordinating piece of card or poster board. Be sure to hang this!
Budding artists need the encouragement 
of seeing their work displayed!
I think that will get you started on some fun projects that the kids will enjoy, and you will too!

More to come...

‘Til next time,
inkspired


Sunday, March 8, 2020

It’s hard being green

Ribbit!


I know it’s only March,
but I am thinking SPRING!
and
that means green!

‘Let me glance at dear old Ireland again’
Turn of the century song title
Original Collage Paper Painting by inkspired
Using all recycled junk mail and magazines

Let’s have some green fun today!


Kaleidoscopes by inkspired & KaleidaCam 

Kermit has been a favorite since I saw him
the first time on TV in 
The Frog Prince fairytale with Miss Piggy.

Kermit, The Muppets

I found some fun ‘fake’ movie posters
featuring Kermit....


But wait!
There’s more!
(Old commercial humor)


Do you recognize all the movies they are spoofing?
FYI
If you haven’t seen 

“Driving Miss Daisy”

you have really missed out on a fabulous movie.


Let’s find some green in nature-


Does anyone know what this is?
I found the photo on Pinterest
with no identifying captions.

No matter,
I sure would not want that to buzz around my head!


Next we have a lovely Shamrock collage 
made with recycled, used postage stamps.
See past blogs to find more postage stamp art!
💚


Amazingstampgallery.blogspot.com


I believe this is from an Etsy shop, no longer available.

From an Etsy store, picture from Pinterest


A card by inkspired using scrap paper and bits of lace and buttons


A card by inkspired and Cricut Explorer 2

A lovely layered card by Shelly Newkirk

Well, are we feeling green yet?
Having fun with a new app, found on AppAdvice,
called WordPack.

Have a safe and Green Day!

Til next time - 
inkspired

Truth from experience - 
Usually discovered before 10am or coffee:

You will not find coffee mugs in the coffee/tea cupboard.
Coffee and tea are kept there.
Spoons are not found there either...


Friday, November 1, 2019

November nuances

Welcome!
Autumn Wreath


We still do not know
One thousandth of one percent
Of what nature has
Revealed to us.”
-Albert Einstein 


I love Fall.
I love the warm colors it gives us
after a sunny and bright summer.

Kaleidoscope by inkspired

I hope today finds you healthy, happy and safe.
I have friends that do not have all three of those things 
very frequently.
I am thinking of you today
from my heart.


Recently I have been making Christmas presents.
Don’t yell at me,
because I mentioned Christmas, in November!


Thanksgiving is an important holiday in our home,
BUT
if I plan on making presents to give in December
I need to start around July!
I would love to share some with you,
However I don’t want to spoil 
the gift surprise.
Dilemma!


Let me share a recent card I made using used postage stamps.
You can easily duplicate this with items you have already.
🧡


Greeting card made with used postage stamps by inkspired

Gather your materials first:
*used postage stamps cut to size you want.
(I usually try to cut just outside the perforations)
*scissors, glue or tape
*cardstock for card base
*cardstock scraps complimentary color
*saying
(Could be a cut out, sticker, die cut, stamped image -
Whatever you like)
🧡
Glue postage to scraps of cardstock.
Trim edges. Decorative scissors can be fun to use.
🧡
Arrange your layout BEFORE gluing.
Glue/tape squares in place.
🧡
Use a piece of double stick foam mounting tape
To stick one or more in place if desired.
This gives dimension and interest to your card.
🧡
Add sayings both inside/outside as you please.
VOILA!
You have a great handmade card to give to someone dear.
🧡
Repeat as desired!
Now you can start asking friends to save their used 
postage stamps for you.
Each stamp is like a miniature piece of art.

Another example of a card with a used postage stamp.

I hope you try this recycling card tip!
I love to see your work,
Please share!
🧡

Kaleidoscope using KaleidoCam app
And inkspired photo


Have a wonderful day
And look for the warmth and beauty
All around you.
🧡

‘Til next time,
inkspired