Showing posts with label handmade card. Show all posts

Wednesday, May 27, 2020

Die Cutting tips

Welcome!
All kaleidoscopes by inkspired and KaleidoCam 

I have been having the best fun lately
using my Spellbinder’s Platinum machine.


I was concerned that cranking the handle would aggravate a sore shoulder -
But no!


How difficult it is to turn the handle depends on:

*what kind of paper/cardstock you have
*for me, how high/low the Platinum is
*what brand of dies you are using
*how many items you have to cut at once


First, let’s address paper.
Regular ol’ paper goes through super easy. As you increase the thickness of the paper, you need to apply a bit more pressure to turn the handle.
Logical, Mr Spock. Logical.


Second, what do I mean by ‘high/low’?
To be able to give good turns with the least amount of pressure, play around with how high your table is in relation to your body. At different heights your arm will be able to turn easier or harder.
You might not think it matters, but when you are doing a project with many die cuts, it will make a difference to your muscles at the end of the day.


Next, what brand of dies you are using will depend on how much exertion you need to have 
for a good die cutting.


I have dies from many different companies.
Some are thicker metal than others. While I take care of them the same, the tiny differences in thickness do affect how easy my platform goes through the machine. My solution? While loading up my platform, I make sure to use only the same manufacturer at a time, or space them so there is no overlap in die brands. Envision invisible lines across your platforms.) Fortunately for right now each company seems to be using a different color metal so it is easy to distinguish.


Lastly, how many dies you have on your platform I think does make a difference in ease of turning that handle. With just 1-3 dies things go pretty smoothly. 
But- as you add more dies and even perhaps differing paper thicknesses it will become harder and harder to crank that platform through the machine.
Just be aware of this.
Sometimes it is worth a little extra muscle to be able to cut many things at once. Sometimes I want to conserve my energy, so 1 or 2 dies at a time is best.

Card by M. Nelson, Spellbinder dies

This brings up another tip for you:
As you cut more and more your different platforms will become ‘warped’ and curved.
No need to replace them right away; 
try this instead:
Place items on 1 platform (follow directions from manufacturer). Then, instead of placing the top platform directly above, ease it back about 3/4” from the bottom edge in front. (Meaning the side that goes through machine first). This makes a gradual entry into the machine and gets things going, which is especially helpful when cutting thicker cardstock.

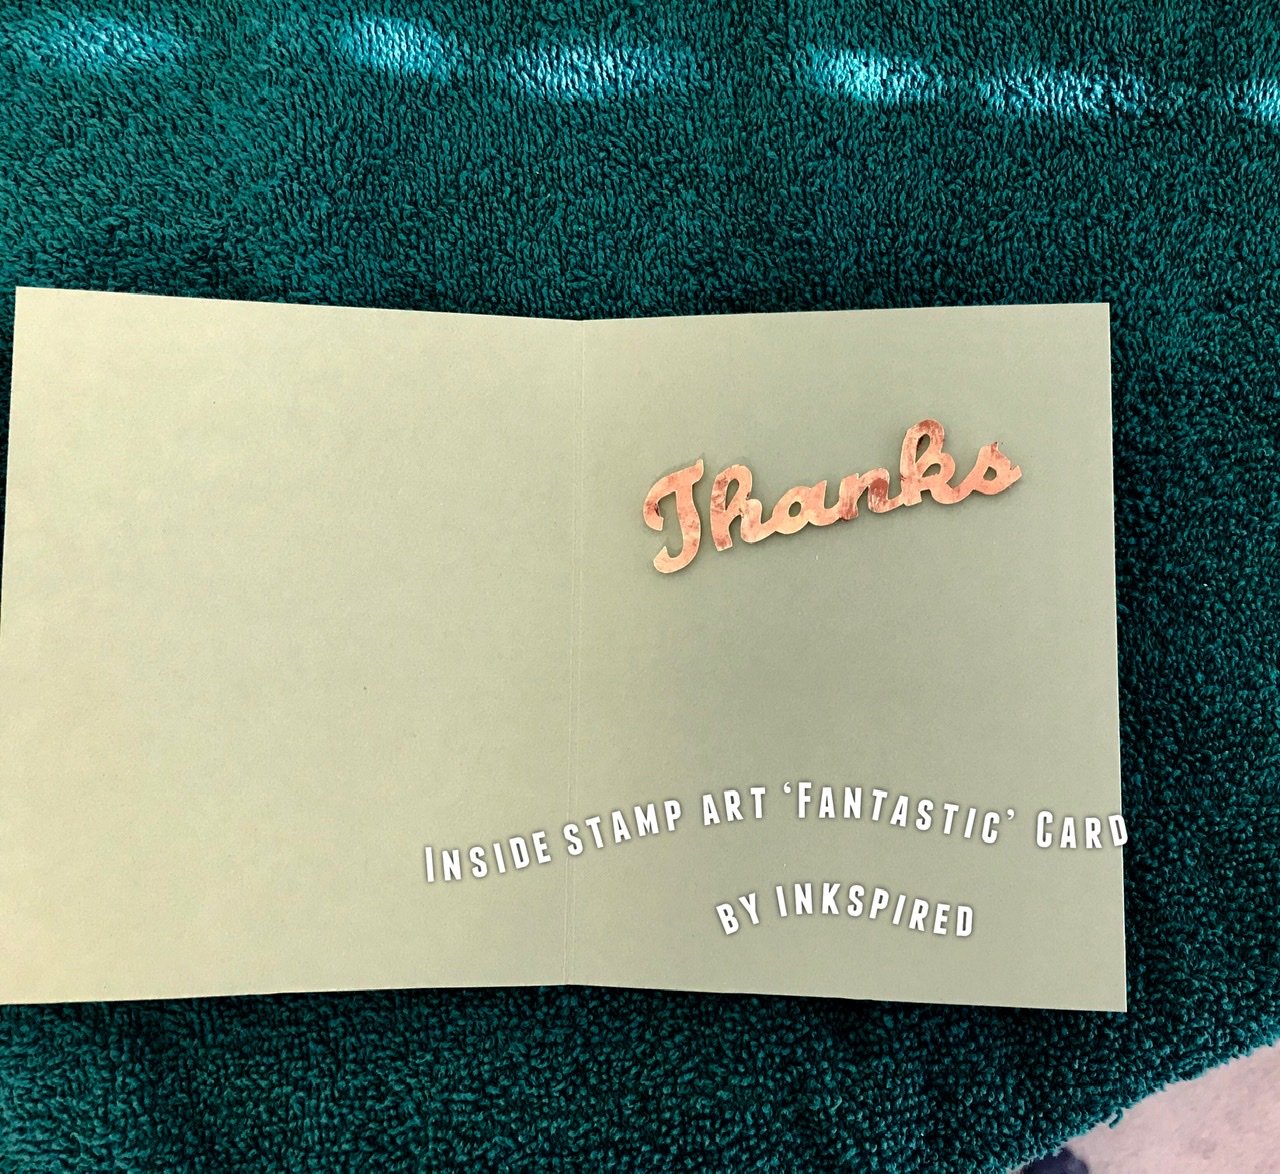
Inside of card, by inkspired

Ignore the loud crack it makes as you push the platforms through. It sounds like you are breaking everything, but you’re not.
Trust me.


Another tip is to run your cardstock/die sandwich through your machine both forward and backwards, never picking it up, sometimes even 3 times to get a good clean cut.


How to stop your die sliding around the paper or on the platform?
After placing your paper/die sandwich on the platform, use several pieces of
Blue painter’s tape
to hold all in place. I re-use my strips of blue tape many times until they no longer stick.

Don’t have any?
Regular tape works well IF you first stick the piece of tape to your pants or shirt. After peeling it off you will notice it has picked up tiny pieces of lint 
and is not so sticky as before.
Remove either kinds of tape carefully
so you do not tear the paper.


I have bits of paper stuck in the cut lines of my platform. How can I clean it off?
Try a lint roller, the kind that uses sticky tape.
Many times this is all you need.

Shadow box by inkspired
I have bits stuck in my metal die.
I hope you already have a 
“Sharp, pokey tool” 
that helps you push your cut die out from the metal die. I use a metal tool from my pottery days.
I have also seen these in various craft stores.
Turn your die over and give it several sharp raps with your metal tool. Many bits will fall out afterwards.
Still some stuck in the die?
Poke with your “sharp, pokey tool”,
and/or use that sticky tape lint roller.
I sometimes use a dab of masking tape also.

If your die keeps clogging in the same spot,
consider just leaving it in there, and see if your die still cuts out all the parts it is s’posed to.

Dimensional card by inkspired

Another trick is to run your die through the machine with a piece of wax paper/paper sandwich.
These are throw-aways  but the wax 
helps lubricate the die for future use.

Layered card by Shelly Newkirk

That’s all for today!
I hope you found some helpful hints that will make
your creative time more enjoyable.

Many of these tips work with other
die cutting machine brands also.

Do you have a tip?
I would love to hear from you,
and pass it on if you wish!

‘Til next time,
inkspired


Thursday, December 26, 2019

Head Start for December, 2020

Welcome!

Kaleidoscope by inkspired 

Did you feel so rushed in the last couple of weeks?
Were there decorations you didn’t have time to finish?
Did you plan on sending handmade cards,
 but only had 3 to send?
Are there handmade gifts you had hoped to give,
but there wasn’t time to complete?

No fear!
It’s not too late dear!
For 2020 holidays that is!

By Kathy Hering

I want to inspire and encourage you today.
Start with making a list,
itemizing what you would like to have done for 2020.

My list looks something like this:

Make a list of friends & family.
Make Christmas cards for all on my list.
Start an idea list of gifts.
Complete and frame 1 holiday papercutting.
Finish paper nativity set.
Choose color/theme for 2020 Christmas tree.
Start homemade ornaments for tree.

 A fairy peek-a-boo box, ready to start.

Now, that’s MY list.
Make yours to fit YOUR wishes.

A wonderful papercutting pattern, found on Pinterest.
Artist Unknown

Let’s look at some ideas that might be on your list.

 A vintage paper doll

Start looking at free/vintage paper dolls that you can print.
Decide if you want to give uncut,
or if you want to cut out and mount on sturdy card stock
(like cereal boxes!).
If you cut them out you can add all sorts of embellishments!


Gingerbread House found on Pinterest

Start looking at different gingerbread houses.
There are a ton of them out there.
Sketch out some ideas for your gingerbread creation.


Posted on Pinterest by OhMyFiesta

Why not start making a table centerpiece featuring
this simple sleigh pattern?
You could use heavy card stock, stiff poster board,
a piece of foam core, balsa wood...
Resize on your computer as desired.
Fill it with Christmas candies,
silk florals and greenery,
shiny Christmas ball ornaments,
or....?!
Then, if you like how it turns out,
make a few more to give as gifts!


All iris folded cards found on Pinterest.

If you challenge yourself to make 5 handmade cards
each month, starting now,
You will have 60 cards finished for Christmas 2020!

FYI iris folding makes up very quickly
with stunning results!


Here are a couple of different sleigh patterns for you,
one to cut and frame and one to print and cut.
Apologies, but artist credit is in Russian I think.


Posted on Pinterest by Knick Of Time

Unknown artist


Unknown artist

Another simple papercutting pattern, 
you could use as a Christmas card front, or frame and hang.
And
A fun iris folding snowflake pattern.

Hand painted card by Sharon Krohn

Well, I do hope you feel inspired!

You know,
Christmas is not meant to be a one day affair,
But an everyday way of living.
Enjoy!

‘Til next time,
inkspired

Truth: (usually experienced before coffee and/or 10 am)
Before taking your morning multi-vitamins,
make sure you are grabbing the correct cup.
Hot coffee is not meant to gulp down pills.
Also
there is no need to ‘blow’ on your cup of water
to help cool it down.

Kaleidoscope by inkspired 

Friday, November 1, 2019

November nuances

Welcome!
Autumn Wreath


We still do not know
One thousandth of one percent
Of what nature has
Revealed to us.”
-Albert Einstein 


I love Fall.
I love the warm colors it gives us
after a sunny and bright summer.

Kaleidoscope by inkspired

I hope today finds you healthy, happy and safe.
I have friends that do not have all three of those things 
very frequently.
I am thinking of you today
from my heart.


Recently I have been making Christmas presents.
Don’t yell at me,
because I mentioned Christmas, in November!


Thanksgiving is an important holiday in our home,
BUT
if I plan on making presents to give in December
I need to start around July!
I would love to share some with you,
However I don’t want to spoil 
the gift surprise.
Dilemma!


Let me share a recent card I made using used postage stamps.
You can easily duplicate this with items you have already.
🧡


Greeting card made with used postage stamps by inkspired

Gather your materials first:
*used postage stamps cut to size you want.
(I usually try to cut just outside the perforations)
*scissors, glue or tape
*cardstock for card base
*cardstock scraps complimentary color
*saying
(Could be a cut out, sticker, die cut, stamped image -
Whatever you like)
🧡
Glue postage to scraps of cardstock.
Trim edges. Decorative scissors can be fun to use.
🧡
Arrange your layout BEFORE gluing.
Glue/tape squares in place.
🧡
Use a piece of double stick foam mounting tape
To stick one or more in place if desired.
This gives dimension and interest to your card.
🧡
Add sayings both inside/outside as you please.
VOILA!
You have a great handmade card to give to someone dear.
🧡
Repeat as desired!
Now you can start asking friends to save their used 
postage stamps for you.
Each stamp is like a miniature piece of art.

Another example of a card with a used postage stamp.

I hope you try this recycling card tip!
I love to see your work,
Please share!
🧡

Kaleidoscope using KaleidoCam app
And inkspired photo


Have a wonderful day
And look for the warmth and beauty
All around you.
🧡

‘Til next time,
inkspired

Wednesday, April 20, 2011

Easter lilies

Hello!
Today is a bit of a punky day for me (although seeing the bright daffodil faces is very cheery!). I hope you don't mind, but today's post will be all EASTER LILIES.

Use them in Easter cards and greetings to friends and loved ones.

Print some out for the little ones in Sunday's church services.

Print some out to put on your refrigerator, or...

Enjoy!


Here are some lovely edibles:
 this one is from http://www.apieceocake.com/:
These yummy cookies are from http://www.cheriscookies.com/:
More vintage clip:


Here are some beautiful photos:


Let's not forget those coloring enthusiasts!


Next we have a botanical print and a colored pencil artist:

by TeresaMallenStudio.blogspot.com

Here is a computer drawn type Easter Lily:

and I will finish today with a stunning Easter or Wedding garland.
The picture on the Left is from Martha Stewart.
The picture on the Right are artificial lilies, taken apart and restrung.
Can you tell the difference?
Let's finish with a lovely Easter card handmade by:

Johnvmcards.blogspot.com
That's all for today.
:0)

inkspired