Showing posts with label creativity. Show all posts

Tuesday, August 16, 2022

A Plethora of Purple

 Welcome

All kaleidoscope by inkspired and KaleidaCam 

Purple.

Let’s explore everything PURPLE!


Jellyfish:

DivePhotoGuide, Lea Lee’s Gallery

Flowers:

Ground over, Balcony Garden Web

Pysanky eggs:

Lobelia, Ukrainian Pysanky Easter egg by So Jeo


The first recorded use of the word ‘purple’
was in the AD 900’s.


Footwear:
Fabulous Maribou Slide, Walmart


From an article from bettinaelcreation.com


Are you feeling purplish yet?


Glassware:

Godinger Serveware, Macy’s

Feathers:

Macaw feathers close-up, iCanvas, by Michael Fitzsimmon


Nudibranch:

Nudibranch, posted by bouphonia.blogspot.com

The word ‘purple’ comes from the name of a Tyrian purple dye made from 
mucus secreted by 
the spiny murex snail!
The Phoenician trading city of Tyre
is now in modern day Lebanon.

Furniture:
    French Louis XVI Settee, purple velvet, Etsy


Hand beaded jewelry:

Hand-beaded jewelry set by KHandsJewelry, Etsy


That’s a LOT of snail snot to create a
tiny bit of dye.

Fish:

Cichlid; photo credit: Amy Downs, Pinterest


Ballerina:
Uploaded by Teresa Souza, Pinterest; no other credit given


Posted by Wendra Nolan, Twitter


Automobiles:
LucyLovesYa Blog; Flickr


Fungi:

amethyst Deceiver mushrooms, JustMandy, Twitter


PURPLE was exotic & rare;

Initially worn only by 
Japanese emperors, 
Roman magistrates,
Byzantine kings
and
Roman Catholic bishops.


Handbags:

PandaHall.com


Garden Kaleidoscope:

By inkspired


Cake:
50 shades of cake; Allrecipes Dish

The color purple has been found 
in Pech Merle (France) cave art,
dated back to 16,000 - 25,000 BC.

Clothing:
Vintage clothing by 1st Dibs; overstock.com

Octopus:

Octopus, article from Steemit, 12/11/2017

I think that’s all for today!

‘Til next time,
inkspired

I gathered information from several sites.
Here are a couple of them:

en.Wikipedia.org

Artsandcollections.com

Pinterest.com


Thursday, March 26, 2020

Boredom Busters, Part III

Welcome!
All kaleidoscopes by inkspired and KaleidoCam 


‘The cure for boredom
is curiosity.
There is no cure 
for curiosity.’

- Ellen Parr

We are now under severe restrictions 
on our ability to go where we want,
do what we want, see who we want.

Many people have already been under ‘house restrictions’ 
for a week or more.
Patience can get frazzled.

Artist Sandra Boynton


Tempers may be elevated.


Minion humor

And then there are the kids!
They are stressed out too!

I hope you will come away from today’s blog
with a few ideas to relax everyone,
use that creative side of the brain,
and just have some good ‘ol fun!


Let’s start out today with a couple more
Painting Projects:

Painted Swirly Flowers

From an article in Make and Take

You will need:

Some kind of palette-
 plastic lid, watercolor tray, plastic plate
Paintbrush
Paper 
Acrylic paints, various colors

Suggested- 
drop cloths, paint ‘smock’ or old shirt

From Make and Takes, 2016 article

How to:
Pour a few colors of paint onto your palette.
Take a paintbrush and dip into one color.
Without rinsing, dip into a second complimentary 
paint color. 
Do not blend!

Make a large circle ‘swirl’ on your paper,
 Making it into a swirl shoe.
Reload your brush with paint.
Make another next to it.
If you would like your flowers to have 
slightly different ‘tones’, try another swirl 
without reloading your brush with fresh paint.
Swirl in a third  circle.
(Refer to photos)
Made-by-mejulie-ryder.blogspot.ru


Using a largish brush, or a sponge cut into a thin leaf shape
Load with 2 or 3 colors of green paint.
Using a swiping motion add in some leaves.
(Refer to photo)

Load your brush with the flower colors (2)
and use a short quick ‘swipe’ to make flower buds.
Take a small paint brush and load 
with a light color value of your flower colors. 
Add in a bit of detail/highlights.

Here is a finished example,
with some slightly different ‘tweaks’.


Copyright Julie Ryder

Almost done!
Using a small paintbrush 
dab black or very dark flower color 
to center of each flower.
Using the end of your paintbrush
dip into white or yellow and make 3 dots
in the very center of your flower.

Here is another example to inspire you!


Sorry, the credit for this was in Russian!

For young artists,
have them dip a finger into a thin layer of paint. 
Then press their finger around the colored swirl.
Voila!
You now have a bouquet of flowers with leaves!

As you can see, your flowers can be very simple
or look more elegant
Depending on what you ‘add’.

Oh do send me photos of your results!


Next painting project:

DOTS!

ChristysCornerStudio.com

Dots are simple and any age can make one.
The more skilled the artist,
the more complex designs you can use.

Let’s start with a simple project:

YouandKids

You will need:

Paper - plain, watercolor or mixed media
Colored markers, any size, any brand
Post-It Notes

Pick out a simple shape - 
look at preschool age coloring books 
for some shape ideas.
To start, make your shape solid with no inner cut out areas.


Using your Post-It notes, cut the shape out.
You can patchwork the notes together so you have a large enough area for your shape.
Be sure to have as much of the ‘sticky’ area 
on your pattern shape as possible.

Smooth your shape onto your paper.
The sticky areas should hold it in place.

Now take the main color marker and start randomly making dots on your paper. Concentrate more dots around your shape, with fewer dots out to the edges.

Posted on Pinterest by Srirup 

Take a complimentary colored marker and make more dots.
When you are pleased with the color balance,
and the edges of your shape are mostly covered
you are done!
Carefully peel up your sticky note shape.
😁

The above photo shows using paint with pencil erasers.
This works really well!
You can also use Q-tips (cotton swabs),
pen caps, dowels - just look around for round shapes!

I think using acrylic paints is much easier than dotting with watercolors, but experiment with what will work best for you, and/or the ages of the kids creating also.

Here’s another design variation,
same technique:
Posted on Pinterest by Rachel Hinderliter

Starting to have some dotty fun?
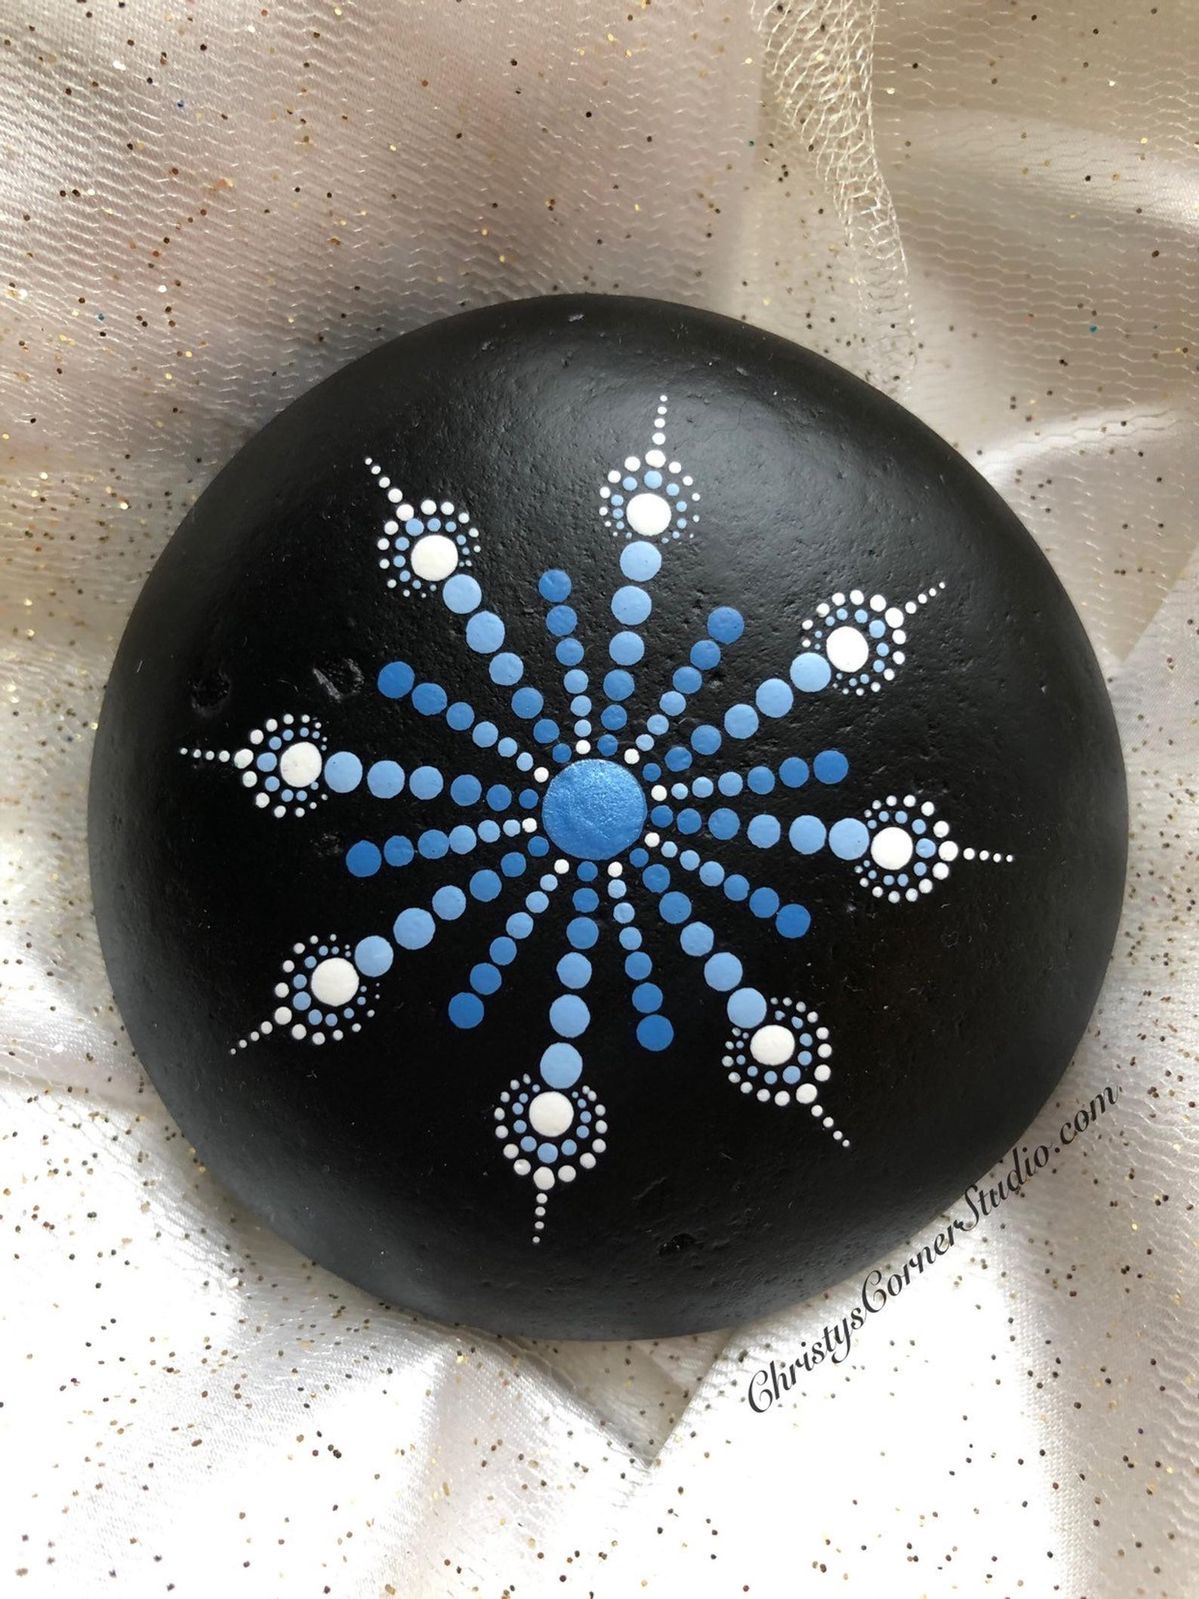
Try using acrylic paint dots on rocks!

 For sale on Etsy

Try some dots on thick card stock and make bookmarks!

ShopWorldLove


I hope you try some Dot Art,
and really have fun with it.

That’s it for today’s Boredom Busters.
‘Til next time,
inkspired


Truth, usually experienced before 10am or coffee-
Nothing is kept in the plate cupboard
except plates.
Not coffee, silverware, napkins or mugs
can be found in the plate cupboard.
Just. Plates.

Tuesday, March 24, 2020

Boredom Buster Activities, Part II

Welcome!

All kaleidoscopes by inkspired, using KaleidaCam app


‘The only limits in our life
are those
we impose on ourselves.’
- Bob Proctor


My last blog was not complete
and I had promised to add to it,
so here we go!

I have been teaching since my first
Bible lesson flannelgraph
at the early age of 6 years old.
I am pretty sure I have gotten better with age!

I found similar ones from simoneoficinabiblica.blogspot.com

Now I stick with teaching crafts.
You name it, I have probably at least tried it, 
if not actually having taught it.

From Fresh Farmhouse, no photo credit

I’m a Craft Junkie.
There, I’ve admitted it!

From Jo-Ann Fabrics

What shall we start with?
Remember, these are boredom busters.
Things that will help keep you AND the kids
Happier.

Today is a beautiful day -
perfect for some sidewalk chalk painting.
This is easy to transition for any age or ability.
Why not do some scenes,
take photos and share them
with grandparents that cannot come visit right now?

B-Inspired Mama

You could read a book to the kids,
then recreate some of the scenes
outside, with chalk.

Some books I am thinking of that would be fun:

* Curious George
* Where the Wild Things Are
*King Bidgood’s in the Bathtub & He won’t Get Out!
(One of my favorites!)

Next Boredom Buster idea:

Tissue Paper Art
I found some fun, new-to-me techniques
that all use tissue paper.


Bleeding Tissue Paper (NOT ‘bleed proof’ permanent)
Plain white cardstock or similar 
Spray bottle filled with water

How to:
Place white card on a cookie sheet, 
or something that can get wet.
Randomly place tissue squares, circles, etc 
on plain white cardstock.


Saturate with water from spray bottle.
Let dry.
Brush off tissue paper scraps - done!


For older kids:
Use a paper punch to punch out shapes from your
finished tissue paper art.
Turn these into greeting cards,
Journal additions,
or refrigerator magnets.

Here is a beautiful ‘upgrade’ for your older kids to make:

From a Hearth and Vine magazine article, 2016


Next Tissue Paper project:

Tissue Paper Snow Art
Special effects with tissue paper and SNOW!
Part of the fun with this one is collecting the snow!

You will need:
a cookie sheet
White card stock
Tissue paper cut or torn into smallish shapes
Bowl of snow

How-to:
Arrange your tissue paper shapes on white card stock.
Cover card/tissue paper with snow.
As snow melts, you will see some 
beautiful and different results!
Let dry. Brush tissue paper off.

Snow covered tissue paper on white card stock

Stampingwithloll.com


This cardstock will make beautiful backgrounds 
for greeting cards.
For youngest kiddos cut a large, simple shape. Place on top of tissue paper finished art, and frame.
Or
Cut a largish shape from the finished tissue art cardstock and mount it on a coordinating piece of card or poster board. Be sure to hang this!
Budding artists need the encouragement 
of seeing their work displayed!
I think that will get you started on some fun projects that the kids will enjoy, and you will too!

More to come...

‘Til next time,
inkspired