Showing posts with label vivalasvegastamps. Show all posts

Tuesday, March 5, 2013

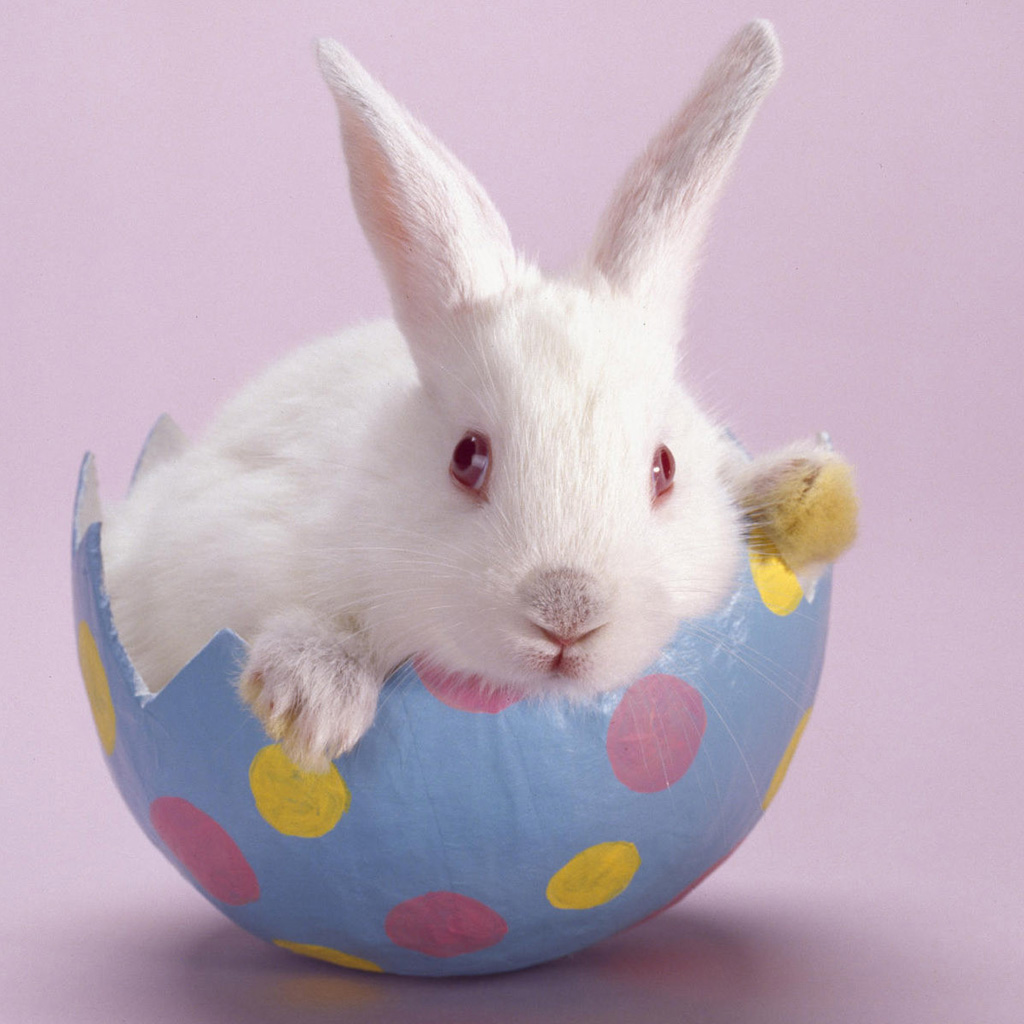
bunny fever

Do you have bunny fever yet?

bunny-kitty kisses
www.grumpycatpics.com

That time is coming when we will be
inundated with bunnies.
(great word, inundated!)


Oh, they are sneaky little bunnies.
They slip in in unexpected places...

www.all-wallpapers.net


marilyn magee, www.fineartamerica.com


www.redbubble.com

You will find them at the grocery store..

www.dumpaday.com

Check them out in the deli too...

www.indianapublicmedia.org


and boy, oh boy are they cute!

www.patidecaz.blogspot.com


Even the dogs are taken with the little critters...


Great Dane with bunny,
www.warrenphotographic.co.ukl


"falling asleep with my bunny rabbit"
www.the happydogspot.com


Maybe we should color some, 
so we will know what to look for?


 'Roberto  Rabbit'

'Biologist Bunny'


"Juney Bunny"

all by Jan Brett
www.janbrett.com


"Thumper", courtesy of Disney

"Pet Shop Bunnies", I believe this is a Dover page.


But don't be fooled!

This is NOT a bunny!!!

www.vivalasvegastamps.com


Have a bunny-rrific day!

inkspired
www.inkspired.etsy.com
www.collagepaperpainting.etsy.com
and on pinterest:
kkloberdans

Saturday, September 17, 2011

A Fall Craft Fair and scattered brains

Greetings, earthling!

(random Alien 'hello')


Today I am in a finish up mood.
The house is a wreck - seriously needs attention.
I have been picking up paper stuff mainly,
so far.


Those darn stacks of papers -
you can't throw them away because sure thing,if you do,
there will be an important bill or a check or something in the middle of it.
I have been throwing away magazines and catalogs from last year!
Yeah, pat on back!!

I am getting ready for a Craft Fair.
This is a new one to me, held at the
Adams County Fairgrounds
on October 1.
9:00 - 4:00
Come by and say hi!

That means
1. I'm terrified!
2. I have to organize my crafts and jewelry.
3. I have to figure out how to display the items for sale.
4. I want to make some more items to be sold.
(check out the making bottlecaps scene above)
5. I need to repair or re-glue anything that needs a little help.
6. I have to organize my craft room if I expect to be organized at all for the Show.
7. I have to print up price tags and affix them to most items.
8. I have to figure out how to package things, so they don't get damaged by being handled by possible customers.
9. I still need to recruit 1 or 2 persons to help me out i.e. carrying stuff in, set-up, doing sales and sales receipts, breaking down, repacking...+more!!
10. ...and probably at least 60 more things to do to get ready...
maybe even 85 things!
Okay, think calming thoughts...

That's me (not really), thinking calm thoughts,
or falling asleep.
Could be both...

The result for my blog?
My thoughts are pretty much on overtime right now,
so let's make a short blog today, shall we?
Yes, I really can!!!

Chimney Sweep Bert and Mary Poppins

I am laying out my finished bottlecap magnets now.
I organize them on pizza trays and cookie sheets,
as they are magnetic.
A magnet has come off, so I will re-glue that.

a recycled junk mail bottlecap magnet

Next up is to get out my Bottlecap Ribbons.
I have sold a good amount, so I'm not sure what I have left,
or what is in a 'making it' stage.


a series I am doing on "Peace" in different languages.
Custom work available.
Recycled bottlecap with hand colored Art Nouveau alphabet.

Now I need to get out my jewelry; it is scattered in a few different places.
Get out my displays, and match up what I want to put where
once I get to the Craft Fair set-up.
Oh yes, and find out how early that is!

an assortment of daisy chains I have made

Well, I guess instead of whining about all this,
I better get going!
Couldn't miss my blog though...
:0)

stamp by vivalasvegastamps:

inkspired
and don't forget you can now easily leave a comment
on my blog!!


Tuesday, June 7, 2011

It's Hula Time!

Aloha!
vivalasvegastamps

Today I am in a HULA mood!
Think flower leis,
Hawaiian music
drums
grass skirts
hoola hoops
torches lit
exotic flowers and fragrance
pineapples
and of course....
the hula!

Dolls of the World, Polynesia Barbie, 1995

c.1920


Let's try on a few Hawaiian shirts and grass skirts
 to get in the mood...

Mary Englebreit's Ann Estelle Summer paper doll

Betsy McCall's Hawaiian trip


'Island Princess' from a magazine


DisneyLand's Tiki Room, with 50th anniversary symbol

I have a treasury on etsy's treasury site that is named:

Time to HULA

If you have time, go check it out!
It is full of fun Hula items for sale on etsy.

While you're there, you can check out my other treasuries also:
My Garden Rocks
Old MacDonald Had a Farm...
Butterfly Flutterings
Mermaids' Self Portrait
Mermaids Boutique
Marie's (Antoinette) Closet
Elephants Never Forget
and many more!
Here is one of my bottlecaps that fits our Hula theme today:
My bottlecap art uses all recycled junk paper -
catalogs, magazines, flyers, annoying notices on the front door
- anything that is headed for the trash may become a treasure to me!
I also pester all my friends and family to save their bottlecaps for me,
so many of my bottlecaps are truly recycled.
Others are from a bottling company's overruns.
Sealed with a shiny acrylic coating, and backed with a VERY STRONG magnet, these pieces of art are one of a kind.
Can  you tell I like them?
:0)

bottlecap for sale www.inkspired.etsy.com


vintage song sheet cover

Let's put on some great Hawaiian music.
One of my absolute favorites is a singer/musician named IZ.
You can find his music here:

Alone in IZ World


Facing the Future
(this is his first solo album)

And yes, he was quite a huge man, but much beloved by the Hawaiian people. He sang contemporary, but also traditional Hawaiian songs.
Just type in "IZ" in Amazon's search,
and you will find more of his wonderful music, and his life's story.

Here's another CD I found on Amazon.
I have not listened to it, but I would give it a try!


Wish I could hear some of these songs...
c.1916

c.1910

vintage song sheet cover

Super fast pineapple side dish:
You may laugh, but I grew up with this 'recipe'!

canned pineapple slices
maraschino cherries
cottage cheese

Place a pineapple slice onto a plate.
Scoop 1 heaping tablespoon of cottage cheese and put in the middle of the pineapple slice.
Top with one maraschino cherry, or half maraschino cherry.
For extra fancy, place a lettuce leaf first on the plate, then layer as above.


c.1914

That's all for today!

Aloha Ahi Hou

that means

Goodbye, Have a good day!


inkspired


Sunday, May 8, 2011

Iris Folding Tutorial

Bueno!
An iris folded hummingbird and flower.

Iris Folding is a very simple art that involves an opening in a card, such as the flower or the hummingbird above, and then folding scraps of paper, wrapping paper, envelope linings, ribbon or foil to 'fill' in the larger open area.
Talk about great recycling! Our mountains of paper trash are overwhelming us. Surely there is more that we can do to reduce it?
Well, iris folding is one small way I can help - and so can you!

Here are some visual directions for you, from origami resource center:


Here is a simple pumpkin pattern that I will walk you through:

Card by inkspired

First, Trace the main shape onto a scrap piece of paper (I use sheets from our printer that I have printed incorrectly...upside down, missing a paragraph, etc.)

Lay the tracing over a piece of cardstock. This needs to be a sturdy piece of cardstock, not some of the flimsier ones.

Tip: To hold in place you can use blue painting tape (it has a low tack) or take a piece of Scotch tape. Tear off a small strip, and stick it to your shirt or your jeans. Peel off, and use this to hold the tracing in place. By sticking it to your shirt first, you have added just enough lint to make it still sticky, but not too much that it would tear your paper. Great hint you can use in many crafts!

Cut out the inner shape. You need to use a sharp Xacto blade for this. No cuts into the rest of the cardstock, please!
Here are some photos to help us along, even though they show a triangle pattern, the method is identical:

Tip: You can use any die cut machine and die that has a big 'hole' shape, such as an apple, or circle. This way you do not have to cut out the inner card, the die machine does it for you!
UPDATE: I am experimenting with my Cricut Explore Air2 machine also!
     #2: Check out your local scrapbooking store. Many have machines that you can use free, or pay a small fee to use for a set amount of time. Our local Archiver's has their's for free. They do ask you to purchase your paper there, which is very reasonable to me. Look for the discounted cardstock!!

Prepare your strips of paper. Cut them about 1" wide, and varying lengths to start with.  Just cut a bunch! Fold them in half, long side.

Choose 3 different colors; mixing in patterns is just fine!

Sandwich: 1) pattern face up
                  2) cardstock with aperture face down

Turn your cardstock over, so the back side is facing you.

Following the numbered diagram, lay down your first strip. The fold goes toward the open middle, the open sides go to the outside (cardstock) area.

Tip: As a beginner, I found it very helpful to place the pattern down first, so it would show through the 'window', and I could see exactly where to place each strip. Use the non sticky Scotch tape hint I gave.
Your strip needs to be long enough for you to put a tiny bit of tape (NOT the lint free tape!) on both ends, attaching it to your cardstock.
As you attach each strip, you will be slightly overlapping the one below it.
Pick Color #2, and do the 2nd strip.
Pick Color #3 and do the 3rd strip.
Repeat in this order, following the numbered diagram: Color 1, Color 2, Color 3.


When you are done, your piece should be lumpy! That's okay!
Turn it over and make sure you haven't left any open places. If you have, you can go back and try to cover it with the coordinating paper.
Now you layer on the trunk/stem/leaves to the front of the card.

The very center of Iris Folding is usually a piece of foil, or foiled paper.
When you are done, you look at the front and it resembles the iris of an eye, or eye of a camera.
That's where the name comes from!


To finish your piece, you need to cut a plain piece of matching cardstock and firmly attach it to the back. I like to use double stick tape all around the edges. My favorite is VivaLasVegaStamps - see the side bar for web site.

Here are some basic shapes. With your computer editing, you can make each pattern as large or as small as you want. I am also including some finished cards to inspire you!


I hope this has shown you that even though the finished cards look very complicated, the actual making iris folded cards is very simple.
I find this a relaxing craft to do while watching tv or listening to music.


Here are some beautiful finished iris folded cards:


Here is a great resource for you:   http://www.circleofcrafters.com/irisfolding/

I do hope you try one - once you see how easy iris folding is, you will want to make more!  I belong to a yahoo group that is very supportive, and tons of free patterns you can use: irisfolding @ yahoogroups.


I also Google Images with the words
"iris folding".
Many many ideas and patterns and samples out there!


I hope you have enjoyed this little tutorial.
Have a super super day!


inkspired