Showing posts with label party decor. Show all posts

Tuesday, July 12, 2022

Mermaid Alphabet M - Z, Part II

 Hello!

One in a set of Seashell themed houses with hidden doors, flaps & more where treasures are hidden behind.A paper Seashell Estate with Lil’ Peeps & accessories.

Original by inkspired


Let’s finish our Mermaids’ Alphabet,

Part II

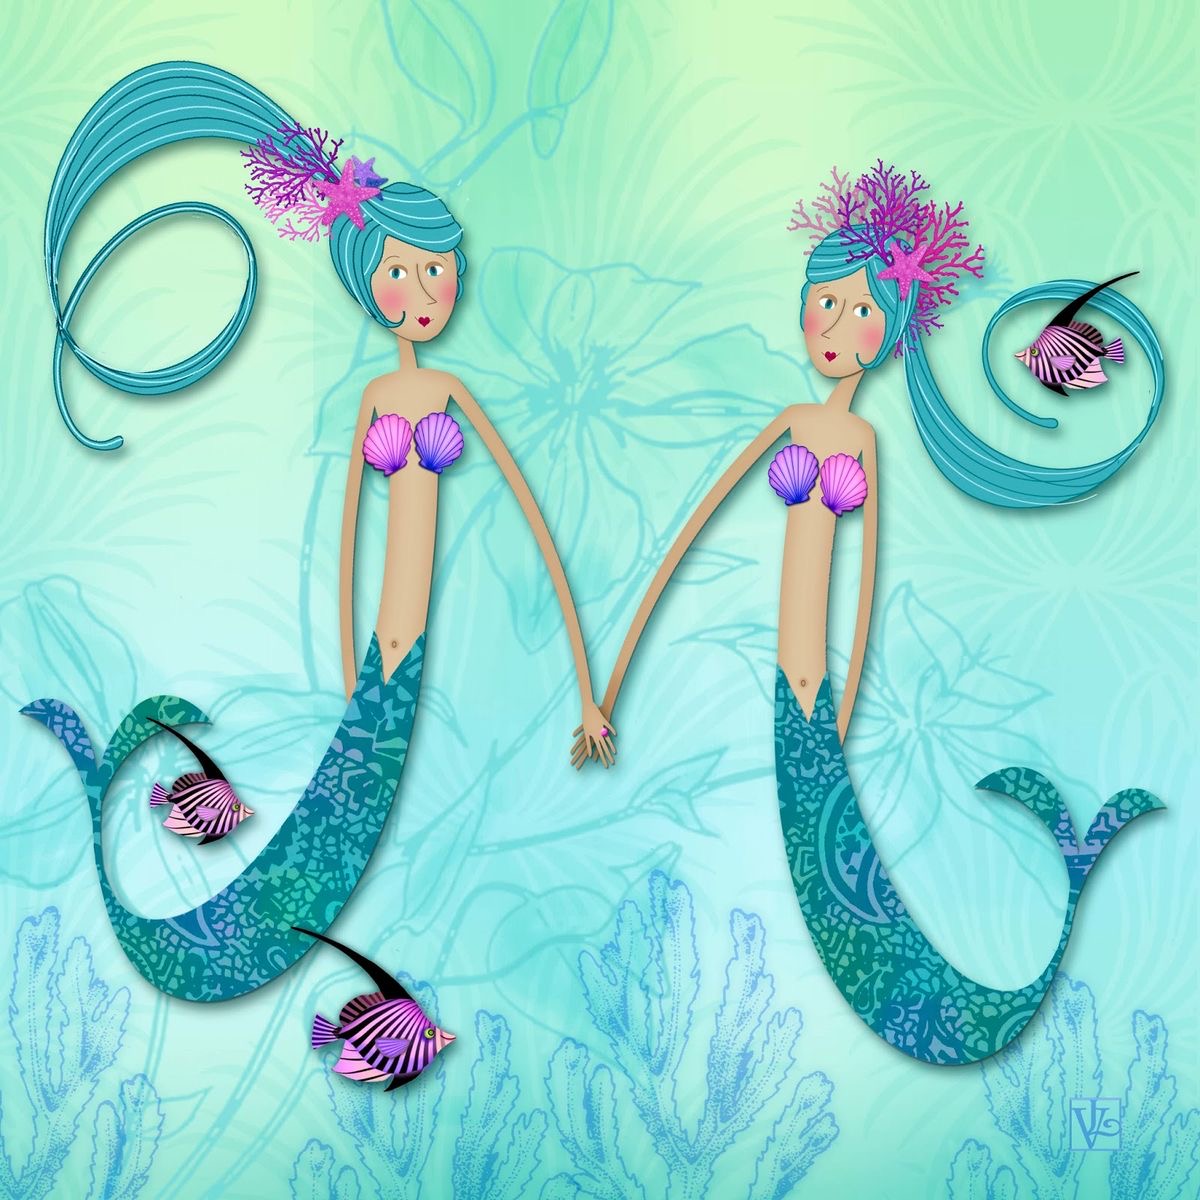
Letter - M

From ValeriaDrake.blogspot.com, 5/20/22


Next, the Letter - N

PerfectlyPinkParties, Etsy, owner Rachel B.

I realize this is not the best photo, but I thought her alphabet letters were so cute, with the banner and all, that I wanted to include one.


Letter - O

PalmettoEngraving, on birch wood; Etsy; owners Dennis/Nancy Solomon

If you haven’t seen my previous post, that is where you will find Mermaid-related Alphabet letters A - L.


Letter - P

Fearless Divas; Etsy, 7” x 9.5”

Letter - Q

I found this on Pinterest, who sent me to Etsy, but no further information


Next, the Letter - R

This was listed on Etsy by Jeanie Nelson as a giclee’ print.


Letter - S

This little mermaid is posted all over Pinterest with bits of info on every post!          Here is what I have pieced together - BluLine - Logotypes; 
Etsy shop Home of Letters with owner Rylee.


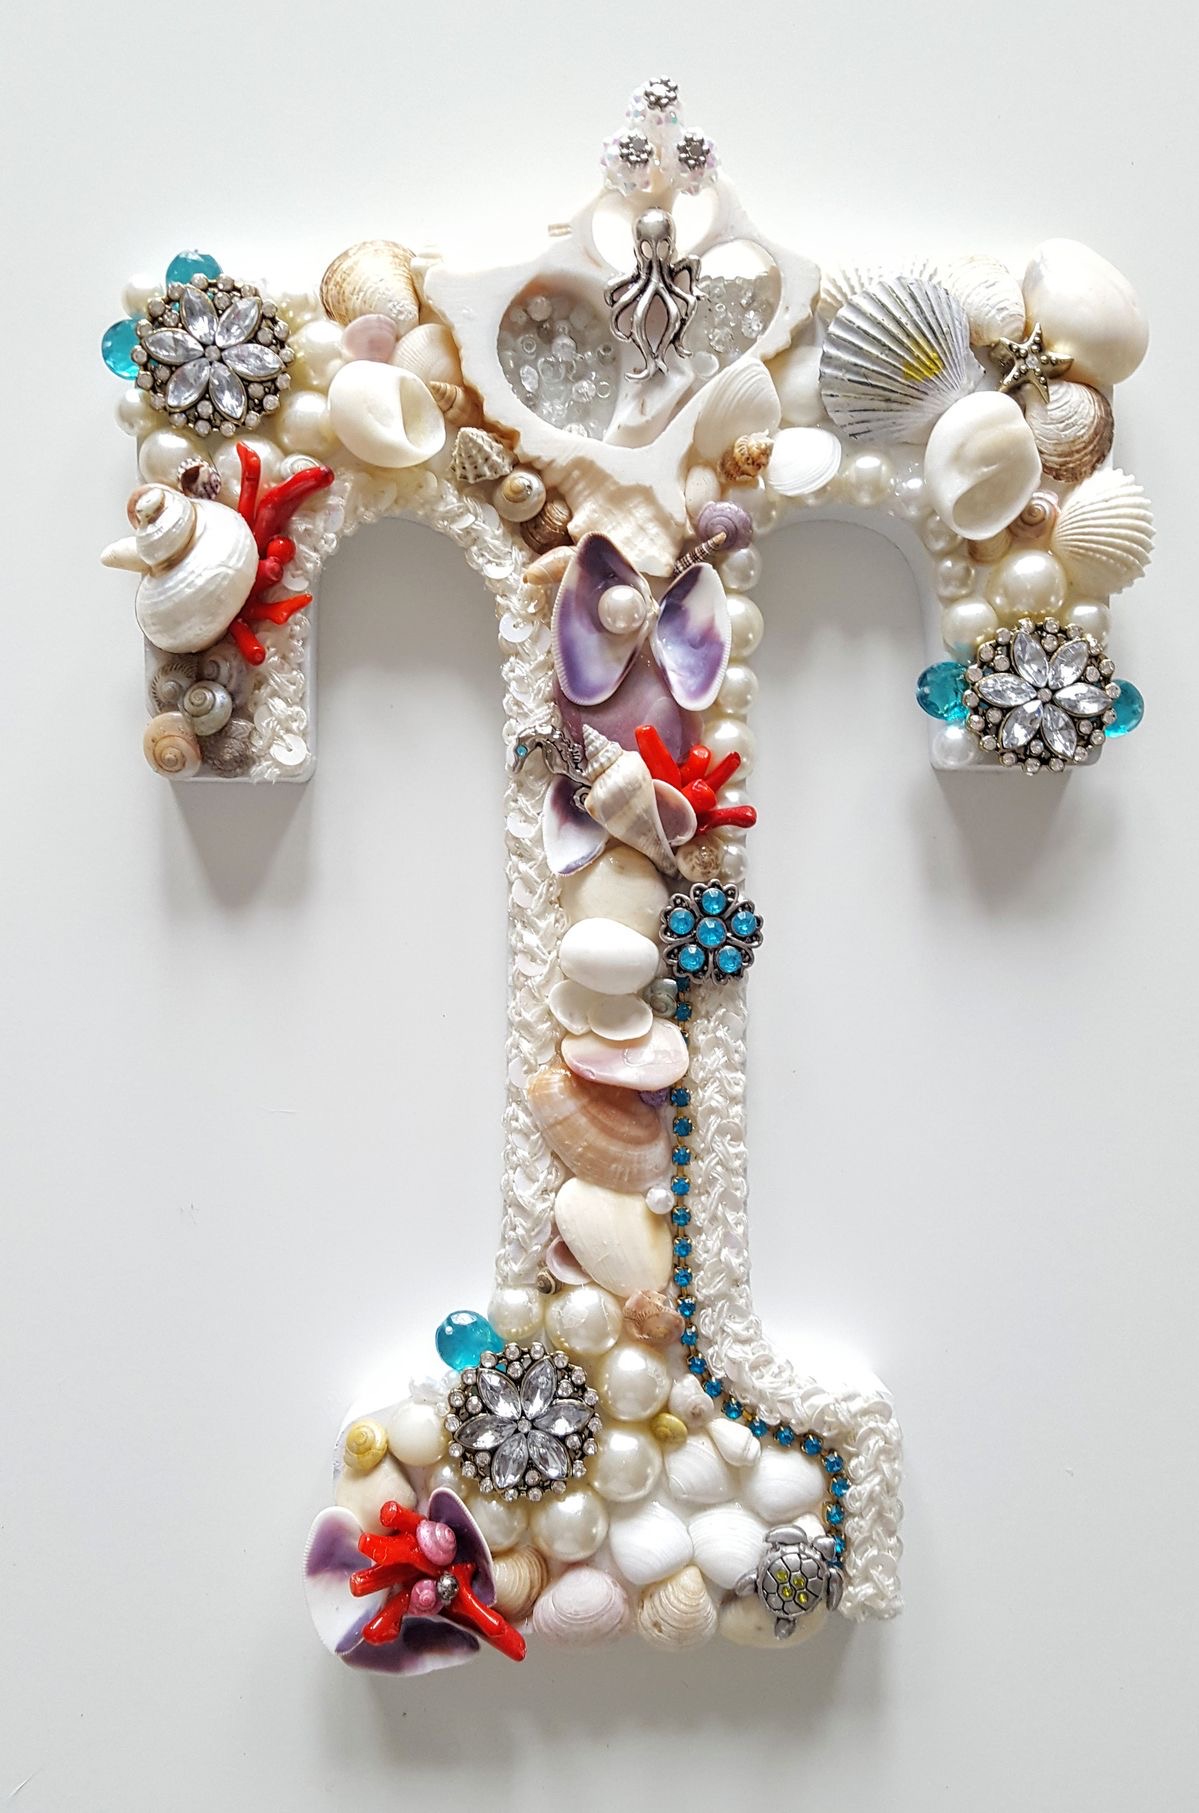
Letter - T

Posted on Pinterest by Belinda


Letter - U
Originally from Etsy, but no further information is available

I do wish I could have found every alphabet letter with a mermaid. However, seashells do fit well with a mermaid theme, don’t they?

Letter - V

Made with shells from Perth, west Australia
Etsy, but no further info available


This next Resin Art letter is one of my favorites -

Letter - W

Resin art by NikkisStuffNThings, Etsy, owner Nicole


Letter - X

Etsy, no further information available


Letter - Y

Another shell creation by FearlessDivas, Etsy 

And the last one -

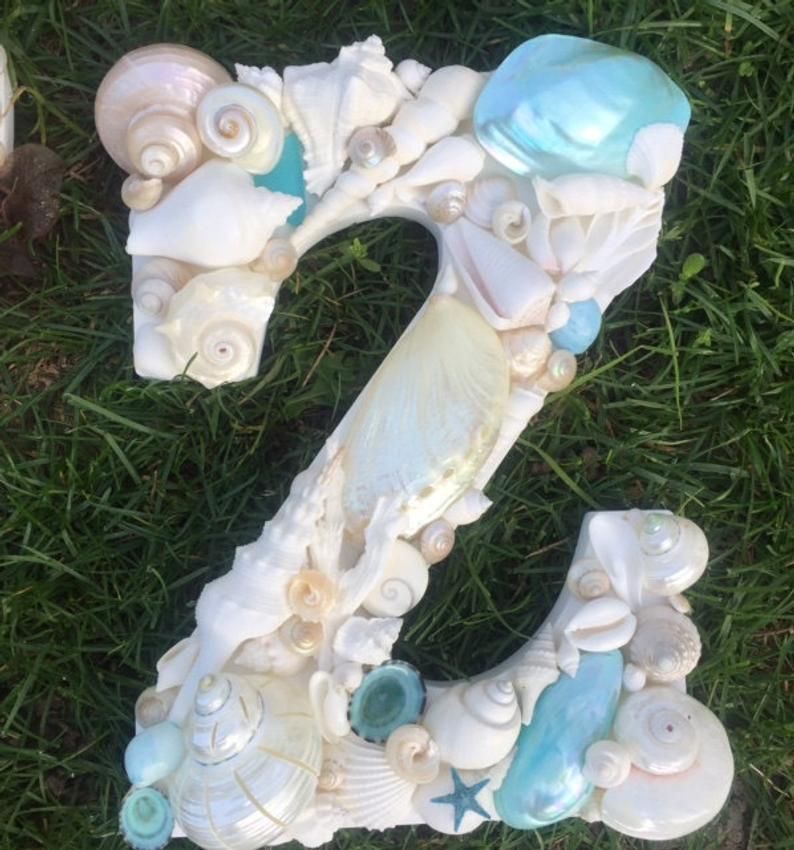
Letter - Z

Live Coastal, Etsy 

🎶 Now I’ve said my ABCs
Aren’t you very proud of me! 🎵


So happy we had some mermaid-time together!

‘Til next time,
Inkspired


Saturday, October 24, 2020

Last minute Halloween activities

 Welcome!

All kaleidoscopes by inkspired and KaleidoCam app

Vintage postcard

I don’t know about where you live, 

but here in Colorado, USA

we are expecting a freezing snow storm 

tomorrow. 

They’re calling it an Arctic Blast.

Perhaps you are also stuck inside due to weather.

I thought it would be fun to do some

simple last minute Halloween crafts/activities.

1924 magazine cover

I thought this easy string craft looked fun.

I used to make similar decorative balls back in the 1970’s!

Let’s Fly Away/Blog E Dicas De Viagen

These cute votive candle holders are easy, 

and most likely you can find all the supplies 

either at home or the dollar stores.

You will need:

White yarn, any thickness

Glass container with mouth large enough to place votive

Flameless votive candles

School type glue, Water

Or

Liquid Starch, water

Optional: fake spiders, various sizes

First cut longish lengths of yarn.

If making with little ones, a bit shorter is easier for them to handle. Practice and find the right size for all.

In a bowl pour starch or glue. Add less than 25% water.

Stir well.

For example, 1 Cup starch, 1/4 cup water.

Elmer’s type glue works well, and may not need any water if it is runny/thin enough.

Clean your glass container with a bit of rubbing alcohol. Dry well.

You can use clean jars, Dollar Store vases,

Baby food jars, etc.

Alecia@ChickenScratch NY


Now the messy part!

Dip pre-cut yarn into starch mixture. Be sure it is moistened throughout. Squeeze off excess liquid. Wrap glass container with soaked yarn, 

 making sure it is overlapping 

with no loose ends. 

End each piece on top of or under another piece.

Wrap as much or as little as you want. Remember for a spider web it has to have lots of ‘holes’.

Let air dry. Be patient, overnight is good.  

When dry, hot glue or Tacky Glue a fake spider on.

Put in a battery-operated flameless candle and enjoy!

Have leftover starch/glue?

No need to throw it all away.

How about we make some lacy yarn pumpkins!

One Little Project, Pinterest


For Lacy yarn Pumpkins you will need:

Colored yarn in your choice of ‘pumpkin’ shades.
Elmer’s type school glue or liquid starch
Balloons, different sizes/shapes 

First, blow up your balloons to desired size.
Tie off end.

 Next, cut longish pieces of yarn.
Have your glue or starch ready in a shallow pan.
A foil or glass pie pan works well.

Saturate a piece of yarn.
Squeeze excess off with your fingers.
Start wrapping carefully around your balloon.
Make sure you start and end each piece of yarn 
under another piece of yarn, 
so it is like a continuous long piece.

You might find it easier if you tie a string around the end of the balloon, so you have something to hold on to.
This will also be helpful for hanging when it’s time to dry.

Be sure to leave space, so your balloon is showing through.


After wrapping, hang balloons upside down over newspapers,
 or throw away pans, garbage bag, etc.
I found tying them onto a broomstick handle
that is propped horizontal between 2 chairs worked well. 
Place newspapers on floor for excess glue to drip onto.
Let dry overnight.

Time to pop the balloon and discard it!
Tightly wrap a piece of brown chenille stem around a pencil.
Use glue to stick the coil on top of the lacy pumpkin.
Wrap a green chenille/pipe cleaner around a few 
strands of pumpkin yarn, and under the brown ‘stem’.
Done!
These look great with several in a bowl or on a plate!


My next easy craft is truly EASY!

DumpaDay.com

You will need cardboard tubes, such as toilet paper inner tubes,
or paper towel tubes, wrapping paper tubes, 
you get the idea!
On your cardboard tube draw with a pencil 
some spooky eye shapes.
-Refer to photo-

Here are some more ideas for eye shapes:

Cheznounoucricri.centerblog.net

Here’s the hard part:
Carefully
Cut out shapes with a sharp pair of scissors
Or an x-acto type knife blade.
Really.
Be careful.

At this point you can paint the tube black if you wish.
Next, break a few glow-in-the-dark sticks.
Run a line of glue inside the prepared tube.
Place glow stick on glue.
Place your ‘spooky eyes’ in a few windows, 
or as part of a spooky table centerpiece.
If the weather is good,
these look stunning placed in and around bushes!
Have fun!

A few more ideas for eye shapes:


Julie Robins, Pinterest


That’s all for today!

‘Til next time,

inkspired

(My continued apologies for a messy format, text in odd sizes and places and other glitches. I am still struggling with the ‘new & improved’ blogger. Sigh.)


Vintage postcard


Truth of the day,

Usually discovered before coffee, or 10am, whichever comes first:

When feeding the dog, make sure you place the food bowl where she can reach it.

Forgetting this and leaving the bowl of food 

on the counter is...

Irritating to the dog.

Tuesday, March 19, 2013

those colorful eggs...


three crochet eggs www.HolidayMemories.etsy.com

Isn't coloring Easter eggs fun?
If you haven't done it in a few years, I suggest you try it this year!
Seeing brightly colored eggs really perks your day up.
Enjoying delicate, pastel colors does the same!


Styrofoam egg shapes with Perle cotton thread, flowers and ribbons
by Martha Stewart

You can plan on eating your colorful creations,
or saving them as decorations.

decoupaged wooden eggs with old world maps and vintage clippings
www.CatnipStudioToo.etsy.com


'little eggs' , sorry - unknown credit


Here are a few coloring pages to stimulate your creativity!


both courtesy Dover Books


Hoppie Rabbit
both courtesy of Jan Brett


baby blanket by P.Russell
silk tie-dyed eggs by inkspired


Why not try a special Easter Egg centerpiece this year?
Here are a few ideas -

www.blogs.babble.com

You could use pine needles for the little nests,
or check out your local craft store for inexpensive ones.
Then put your own special eggs in the nests!

Here's another charming idea:

sorry, no credit

Using a straw hat (you can find these at the dollar store in pretty pastel colors too), fill the bottom with filler. This could be Easter egg 'grass', confetti shred tissue paper, or even silk leaves.
Place on top your Easter eggs. 
Tuck in around the eggs either more of the filler, or even tuck in some greenery.
I would also add a big shimmery ribbon around the bottom.


www.ktvq.com

Use any clear glass container.
Scrounge your cupboards!
Place skinny flower vase in the center. 
Fill with enough water for your fresh cut flowers.
Fill in around the flower vase with Easter eggs,
placing them between the flower vase and the sides of the glass container.
Fill the center vase with fresh cut flowers.
Don't want to mess with fresh?
You can always use silk flowers!

courtesy Martha Stewart

I'm sure you can find the directions for this on Martha Stewart's web site.
It involves a large styrofoam egg.
small silk flowers (like hydrangea), and pearl headed pins.
Use sheet moss for the base.


A few more decorated eggs -

no credit, sorry

Use pre-cut felt borders to blown and dried eggs.
You can also use those fancy gold or silver outline stickers.
If you have some kind of die-cut machine, I believe you can use
sticky on the back felt or stiffened felt to cut your own motifs.
Then just stick on the eggs!

www.anastasiapollack.blogspot.com


I love the pom pom idea!
I think I would try for all pastel colors...
Her Perle cotton wrapped egg is also a great example.
Any ideas on the fancy satin, pearl and trim egg?


www.debbiemumm.com

I like the above idea for a couple of reasons.
First, the eggs. 
They are a great example of what clear glitter can do to fairly simple eggs!

The shred used is just that - paper shred. Much better than plastic Easter grass.

Thirdly, it shows you can use any glass container and end up with a charming and lovely Easter Egg centerpiece for your table, or a little nook.

Here's another 'nest' using magazine shred and fancy eggs:

courtesy Martha Stewart

The eggs appear to be decoupaged with washi papers.

Here is another example of washi paper eggs:

www.CatnipStudioToo.etsy.com


Well, that's it for today!
see you soon...

inkspired
www.inkspired.etsy.com
www.collagepaperpainting.etsy.com
and also pinterest:
kkloberdans