
Colleen Moore, Hollywood star, c.1925


"A little garden in which to walk
and immensity in which to dream."
- unknown
Here is a quirky paper doll that loves to garden!


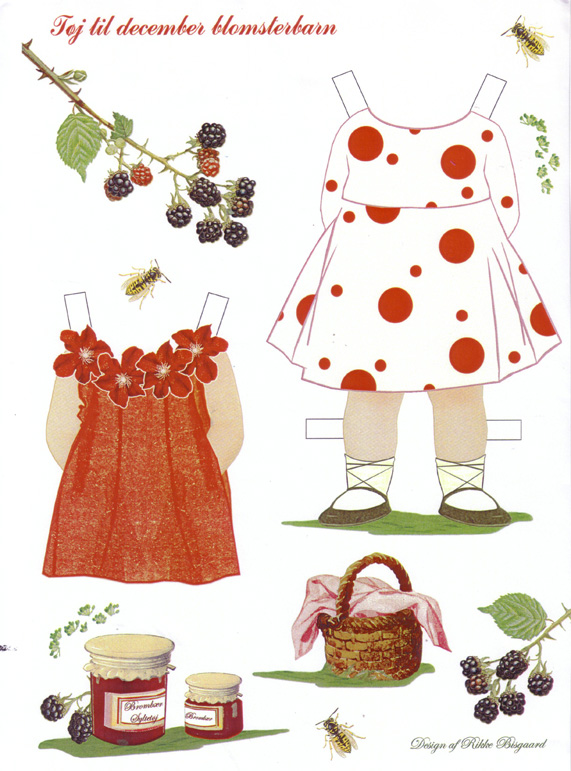

What to do with all the paper doll extras?
For this paper doll, you have lots of extra graphics that you can have fun with. Cut the medium size pieces out carefully, and glue to cardstock or thin cardboard. I like to use blue or green so it will fit in with other scenery. Leave 1 1/2" strip on the bottom of each side, so you can fold the tabs back and let the piece stand on its' own. Cut just a tiny long triangle from the main piece going to a point on the side tab/strip. This will lean your scenery piece slightly back so it will stand better, and not topple over to the front.
Plain as a mud trail?
Practice on some cardstock. You will soon see exactly what I mean.
I would suggest cutting out the little wheelbarrow, the mushroom cluster, the bicycle being held up by the butterfly, the single butterfly, the washtub, basket and jams. Wow! That gives you lots of playing options!
Go ahead and cut out the tiny stuff too. You might want to print them out on sticker paper, so you can add them easily to new outfits. I love my sticker-sized Xyron for projects like this also!
Draw a little bush or small tree. Stick on the fruits - it can be a multi-berry tree, or whatever kind you want! I like to look through old magazines and find a tree and cut it out. Place it on heavy cardstock, glue, trim and make a stand for it.
Don't forget the second kind of easy paper doll stand:
In the center of the picture (in this case a tree) make a small slit from the middle bottom up about 1/2".
Cut a strip of card stock about 3/4" x 3". You can trim this down to size later.
Starting at the top of the strip, make a small cut down about 1/2" from the top towards the bottom. Do not cut the strip all the way.
Slot the two pieces together. Adjust the length of the strip as needed.
A great advantage to either of these stands is that they fold flat!
"When planting this garden
we left room
for fairies to dance."

Fairy of the Garden Barbie, by Mattel
"Gardening - just another day at the plant."

"In a touch of nature, the whole world is kin."
- John Muir, American naturalist
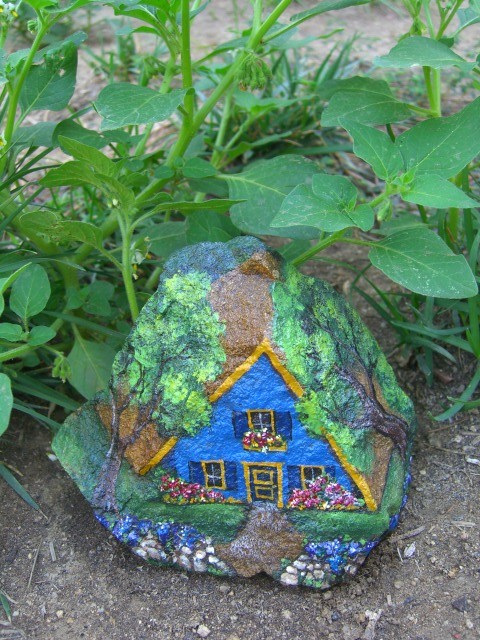
painted rock art, MyGardenRocks, etsy
"Row of seedlings poking their heads out to check the weather."
- Dave Wittler

More dimensional cards. See the directions on 4/2/2011 blog.
Well, I'm off to shake the snow off my daffodil blooms!
Have a super, garden crazy kind of day.
Well, I'm off to shake the snow off my daffodil blooms!
Have a super, garden crazy kind of day.
inkspired


