Welcome!

Have you ever thought about starting a book club? A gathering of soon-to-be friends discussing a book all have read?
Fall is a perfect time to start!
The kids are back in school; weather is getting a little cooler, and outside activities are starting to dwindle.

To get started, choose a book. It can be something from the New York Times top 10 list, it can be a classic, or it can be genre motivated.
Your local librarian is a great resource.

Once you have a book chosen, and where you want to meet (again, many libraries have meeting rooms free with a reservation) it’s time to send out invitations. Putting up notices at your library or local bookstore can work, if you don’t mind unknown people coming. Be safe. Be careful. But this is also how friendships can develop.
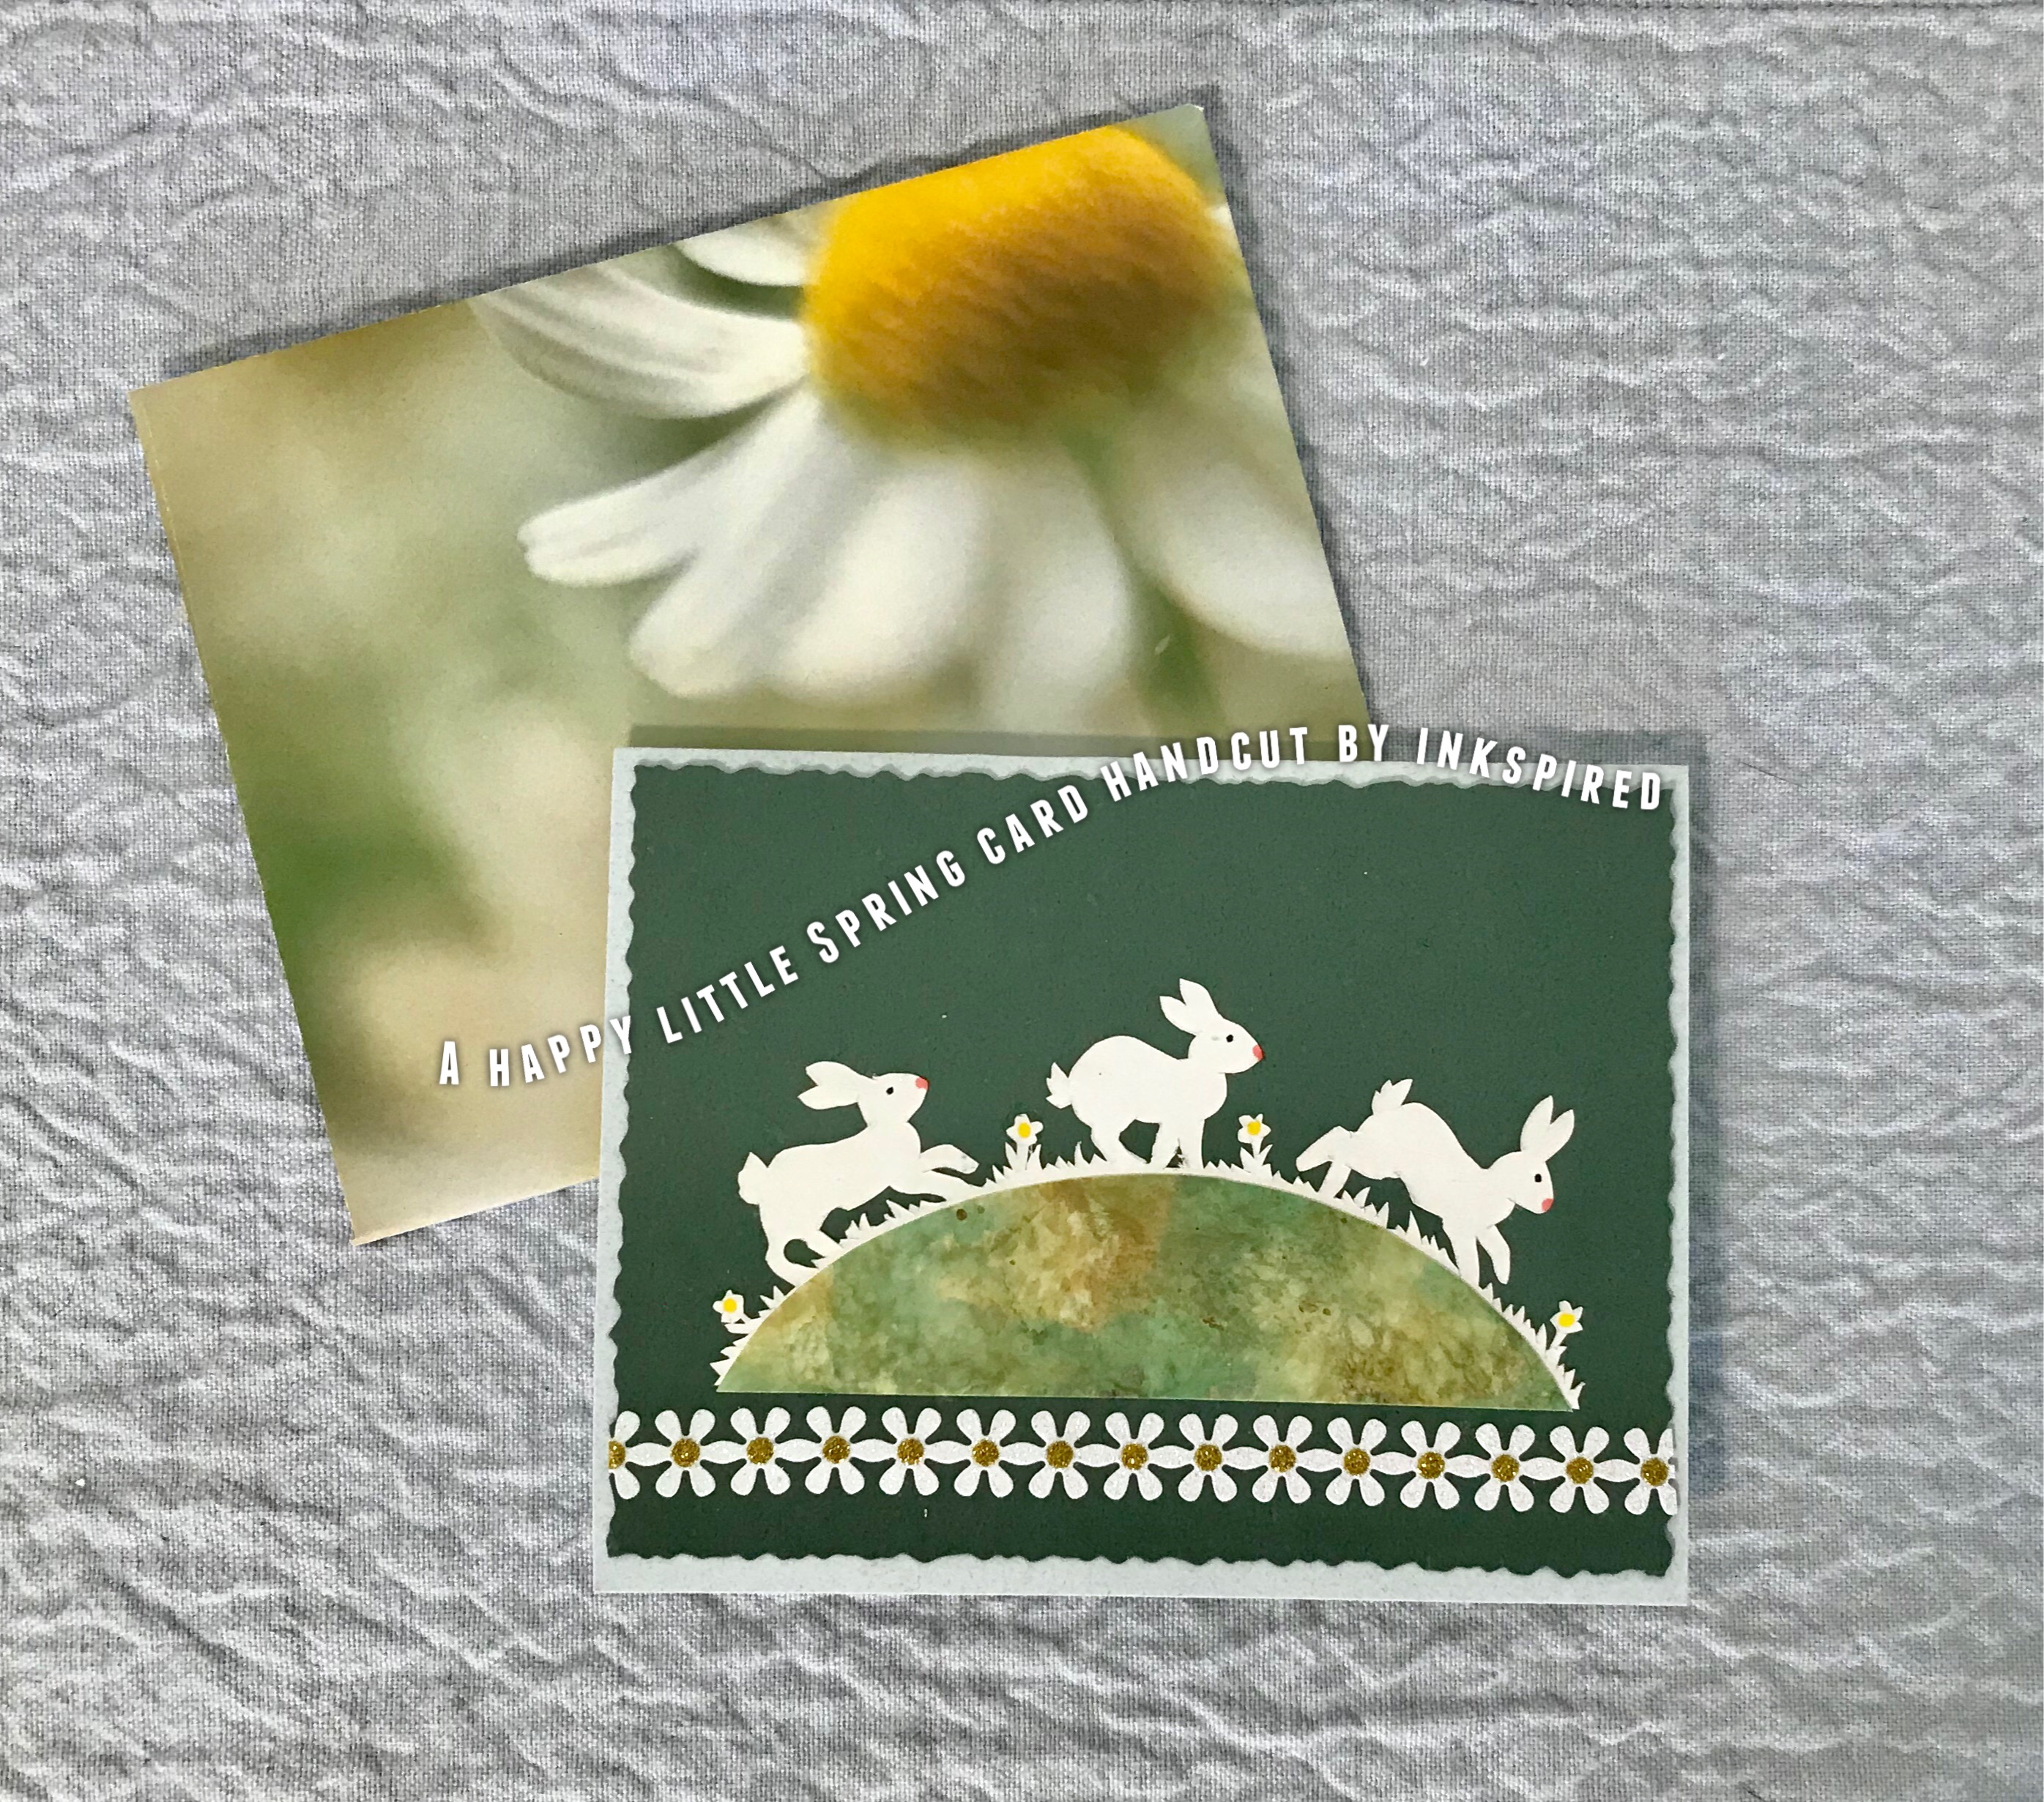
Let’s make some creative invitations!

The idea of using a library card for an invite is so clever! Here is just one example I found of many on Pinterest.

Etsy
This next one you can order from the company.

Canva Templates
There are many different styles of pre-printed invites, or ones you can order from stationery companies.


Paperless Post
You’ve got your flyers or invitations prepared, what’s next? You might want to put a small notice in your local city newspaper. Of course there is also all the social media sites.

If you know who is coming it can take you less than 1 hour to make a batch of bookmarks, and personalize them. There are so many bookmark ideas out there I need another blog to cover them! But here are some ideas:
(Seen above) Magazine name bookmarks: card stock or old Manila folders, book pages and magazine letters cut out. Add string for a tassel.
Don’t know who is coming? Have the base bookmark pre-made. Then cut out an assortment of largish letters from magazines, and have sorted by letter. Provide glue sticks or double stick tape. The attendees can then make their own bookmarks quickly and easily.

Playing card bookmarks: punch a hole at the top. Finish with a grommet if desired. Add tassel (you can make these out of embroidery floss if you want).

Book spine bookmarks: from old beat up hardback books, cut off the spines. You can Mod Podge them if the inside is a bit musty. Punch hole, use a grommet if desired, add ribbon tassel.


(I haven’t given credit to anyone as these ideas are all over Pinterest.)
Again, don’t know who is coming? Recruit a friend with nice handwriting. She can add the name as people come in.

Want to do a little decorating to make the first meeting a bit special? The following ideas are quick, easy, and won’t be messy to put up or take down.
Banners and Garlands
Book pages lend themselves to pennant style banners so easily. The one above has cut out letters on the pages. The one below is cut from a children’s book with illustrations randomly scattered throughout.

Pinwheel Garland
Remember the paper fans we used to fold in school to cool us off? That’s what these are, x2. Glue the edges together to make a circle ‘fan’ with a thin ribbon sandwiched in between.
A circle paper punch (here they used a scallop circle one), book pages and string are all you need for this garland. You can glue the circles onto the string, or you can even sew them together.

Hearts Garland
This one is more time consuming, but certainly looks great. Cut strips of book pages as follows: for each heart you will need 1”x9”, 1”x7”, 1”x5” and 1”x3”. Look at the photo and fold the smallest strip in half, and bend the top. Add the next largest, then the next largest, etc. Staple the ends together to form the heart. My directions don’t have the strip in the center to use for the hanging ribbon. I just tied ribbon around each heart at an angle. Make your strips longer for bigger hearts.

Tabletop Decor
These are just fun little extras to make that first meeting special. You can set these on a coffee table, entry table or kitchen/dining room table. The idea is quick, easy, and thematic.

The Antiqued Journey
books and tie ribbon or lace around them. Tuck in a sprig of baby’s breath or small silk flowers. Charming!
Even better, if your book’s author has written more than one book, use her other books for this display.

Kelli Kania (Gamache)
Here is a similar idea, with a teacup setting placed on top of the stack of books. I like it that the tied books are only two, then stacked on top of each other at an angle. You can use a fresh flower in the teacup, silk florals or even something like Jordan almonds.

I love this next idea, even though it is more time consuming and you really have to have a large table to show it off. But how cool is this?
Book Page Table runner

Have a stack of book pages. The runners I have seen have all used the same size pages. Start laying them out with edges slightly overlapping. Refer to photo. Stand back and look at what you’ve done. Like it? Then start gluing. Just a few dabs will do. I don’t like glue sticks as I think they come apart too readily, but some folks do like them. I use a DAB of Aleene’s Tacky Glue in the gold bottle, or Art Institute Glitter Adhesive Glue. Continue laying pages down and gluing until the length you want is reached.
Book Page Doilies

Paper Punched table runner

Love the table runner idea, but not the boho look? Lay out your pages with a slight overlap at the center. Using a border punch to punch a decorative border on both sides. You can run a thin line of glue to attach them at the center, or strips of double sided tape.
This works best for a shorter table runner.

Lively, posted on Pinterest

Every gathering needs a little food, don’t you think? It can be simple or fancy, whatever you feel like. Just remember the first meeting may set a precedent for future meetings so simple might be best for the initial get together.

I love these ‘green eggs with ham’!
If you have any glucose-free or specialty diet foods, these scrabble letter signs are so clever.


Short on time? These book page toothpicks look just as charming in store-bought cupcakes. Have a recognizable theme? Use punches that compliment it. For instance a Harry Potter theme could have owl-shaped punched toppers, or Little Women could have hat shaped pokes. Yes, they do make punches in those shapes! Or use plastic swords (used for cocktails) for an Aladdin theme!
Book Page Cones are quick and easy for popcorn, circus peanuts, candied pecans, etc. These have been made with pages from a children’s book, as the book read is a children’s book.

Next is a book cake used for a baby shower. Replace the crib with a book shelf, a mini book or something themed from the book club choice and you have a super cake idea!

Your Book Party/Book Club should be fun and interesting and stimulating. I am giving suggestions to ‘dress up’ the event, but the bottom line is people gathering together for an intelligent discussion about a mutually read book.

Don’t want to have a focus on food, but would like to send everyone home with a little ‘bookish’ reminder of the evening?
Next I have a few ideas to share with you that I have found just for that!


Lifesaver mini bags with quotes
This next idea I would tweak just a little.
Purchase little bags that fit one Lifesaver mint (I have bought the bags at both Amazon and at Michael’s stores). Use book pages for a bag topper, only make them large enough for a quote. (See photo). The only thing I would change are the quotes. With a lifesaver I want quotes that have to do with treasure, islands, boats, water, etc. and reading! I like Dave Barry’s quote-
“Reading is a vacation for the mind “

I also like-
“There is more treasure in books than all the pirate’s loot on Treasure Island”.


Are you thinking about going to a Book Club yet? It’s a great way to get to know your neighbors, or people at church, too.
Still not sure? Check this chart out!

Do drop me a note and let me know what book y’all are reading!
‘Til next time,
inkspired
Note: you may wonder why I do not give credit below each photo I use. It is 1 of 2 reasons.
1. The idea is on Pinterest in so many similar ways it is impossible to tell who had the original idea.
2. There are no credits or anything attached to the photo.
As always, if you see a photo and you know whose it is, please let me know so I can give credit where it is due.
😊

mealplanningmommies.com
Plumdeluxe.com
Catchmyparty.com
Pinterest
Teaandinksociety.com
Houseofmahalo.com
DiynCrafts.com
Inspiringsavings.com
Etsy
Acultivatednest.com
Thetablereadmagazine.co.uk