Showing posts with label Paper cutting tips. Show all posts

Saturday, April 12, 2025

Paper Crafting Eggs

 Welcome!

I’m so happy you stopped by!

All kaleidoscopes by inkspired and KaleidoCam 

Easter is fast approaching. There are so many fun things to do to make Easter a special time for everyone in the family.

Let’s do one of my favorite things to do today - cut paper.

123stitch.com

Yes, it’s true. I find it very relaxing and satisfying. For Easter we must do some cut paper eggs, don’t you think?

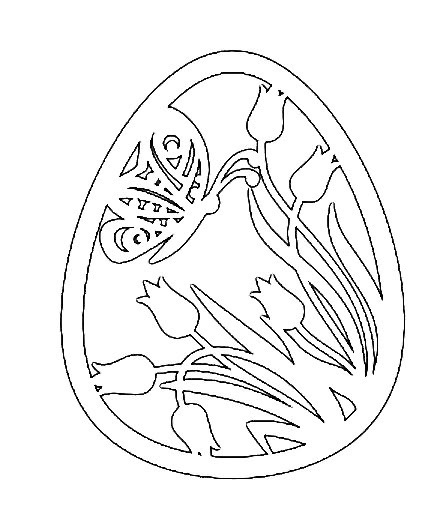
Here are a couple of very simple patterns to get you started:

Posted on Pinterest by Patrycja Wieczorek


Unknown

For papercutting you need a sharp pair of scissors. For most things, scissors with short blades work best. My best scissors have a 1.5 inch blade.

You will also need an Xacto knife. Some people call them scalpels. My favorite is made by Fiskars and has a finger hold place as part of the handle. I also really like my Xacto knife kit with numerous interchangeable blades.

Xacto knife kit


I found this on Amazon. Check your local hobby store first.


A couple of tips and safety things first:

When cutting with a blade, always pull the blade toward you. Hold the paper with your free hand. This will help prevent the paper from tearing. 

Use a self-healing cutting mat underneath to protect your surfaces.

When using scissors, turn the paper, not the scissors. Practice! This really helps.

Never snip with your scissors all the way to the end of the blades.

When your hand gets tired, STOP! This will prevent many accidents.

Posted on Pinterest by marie d.


Unknown

So now you have all these cute smallish papercuttings. What do you do with them? Here are a few ideas:

Make one of a kind cards-

Elisabeth Hogarth Designs

Posted by Kali Lake, Pinterest


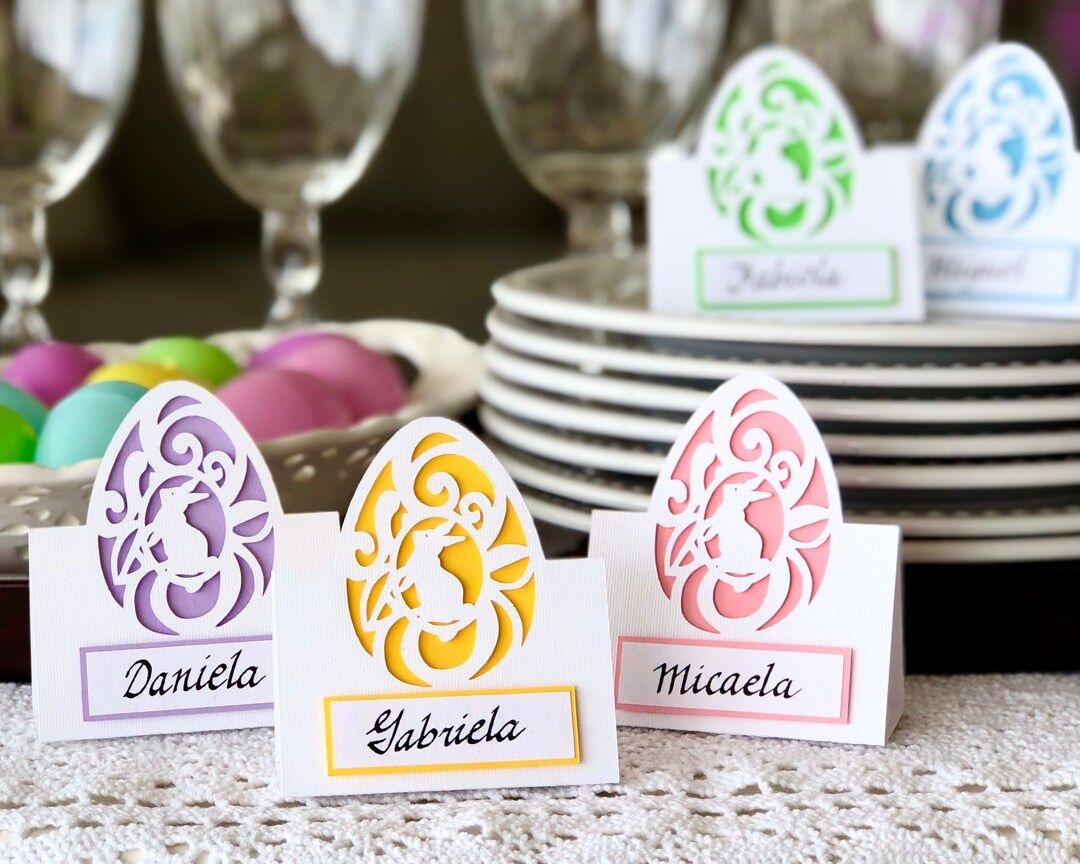
Cut a paper stand and glue on your cutting for place setting markers-

Etsy

Cut these next designs to circle a special dessert or to hold a colored egg at each place at the dining table-

Unknown


Pottery Barn Kids


The next 2 patterns I think could be adapted for stand alone 3-D centerpieces-

Zsuzsa Bulint Lajosne’

Cut the egg twice. Fold in half and glue down center. To stand alone either cut a little stand or flatten out the bottom of the egg. Use this for a guide-

Posted on Pinterest by Carolina Meyer

These patterns are placed on a fold and cut out. Cut two and glue them together down the center. You could easily draw an egg shape to frame them before cutting out.


Here is another example for you to use as a guide-

Posted on Pinterest by Wolodymyr

With just a little bit of adapting you could use these patterns and glue them to bamboo skewers. This is a great way to decorate your plants, or give to a friend in a pot of flowers.

Unknown sources, Pinterest

Zsofia Olahne’ Radvanyi, Pinterest

Did you know you can decoupage napkins and paper cuttings onto eggs? Use a blown out egg, and then decoupage over the ‘blow’ hole with a glue/sealer like Mod Podge. Use lightweight papers and single ply napkins.
Make small cuts around the edges so you can smooth the cutting over the rounded egg shape easily.


Marianne Songbird*Home Decor*

Chaiv Design


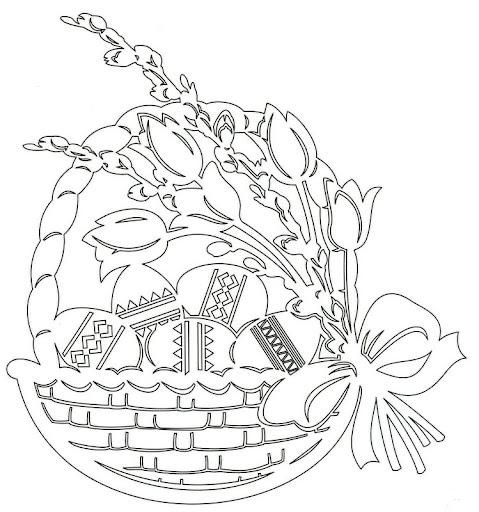
If you would like to do a more complicated cutting, here is a pattern for you-
Posted by Maria Dimitrova-Georgieva, Pinterest


Wouldn’t this be pretty temporarily posted in an entry window?

Olga Belchikova, posted by Egor Borodin, Pinterest

Here is another pattern-

Vytynanka by Svetlana

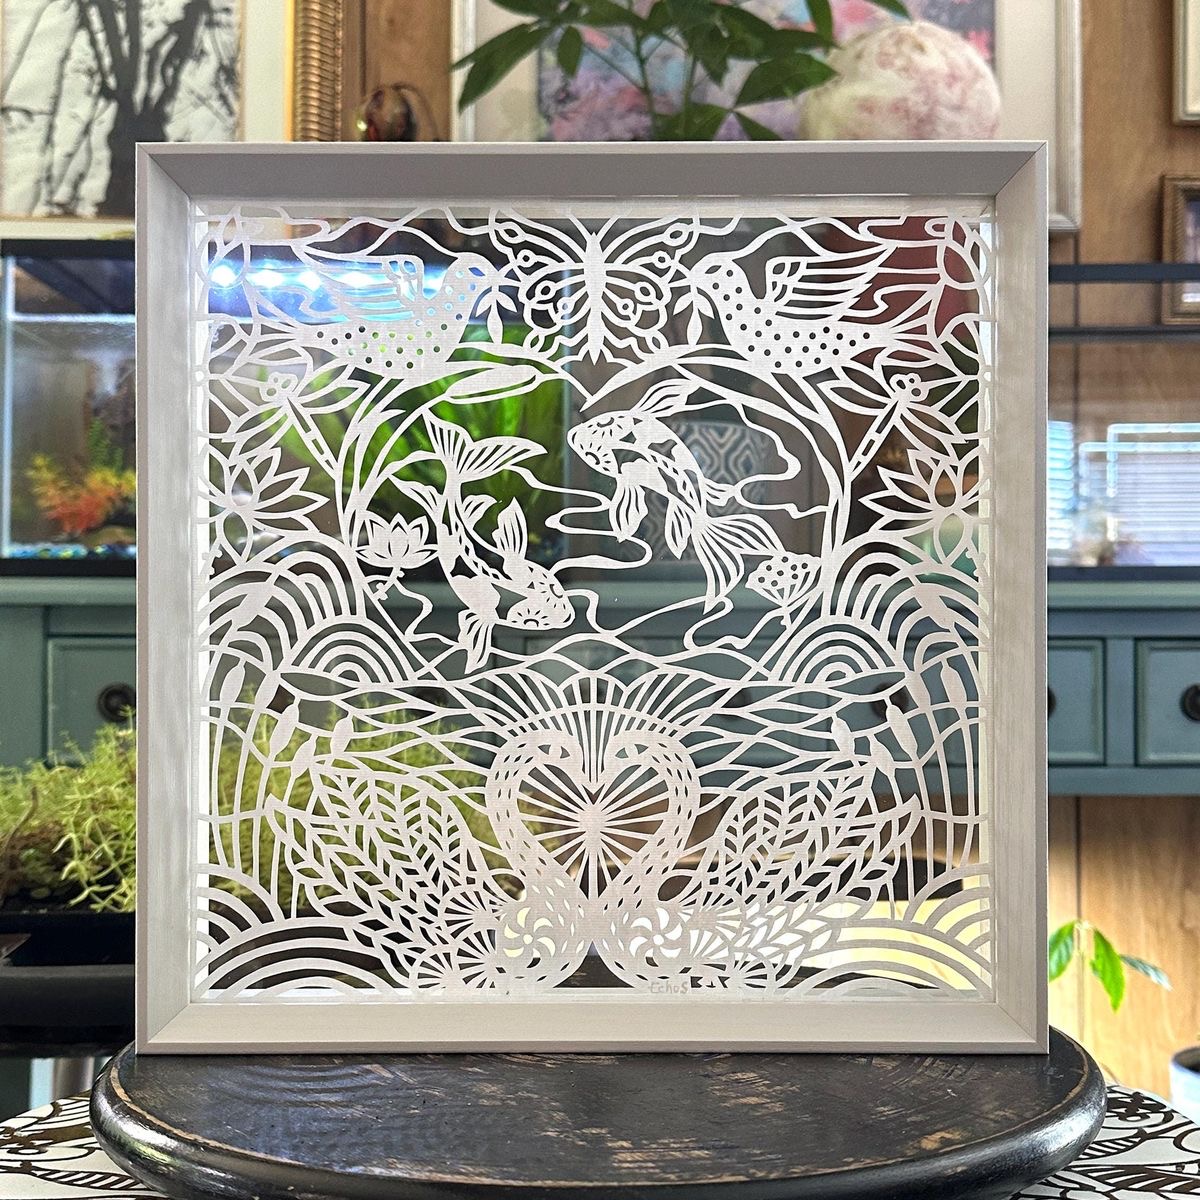
You can frame cut paper art between two pieces of glass and a free standing frame for a beautiful keepsake decoration-

EchosArtSpace, Etsy

Isn’t cutting up paper fun?
You can take it along with you anywhere. It is easy to start and stop. 
You don’t lose your ‘place’. 
It is lightweight. 
You can do so many different things with the finished cutting.
 It is a very inexpensive hobby. 
No one else will have anything exactly like yours. 
It is easy to find free patterns. 
It is easy to make your own patterns.
Wow!
See why I enjoy it so much?

Unknown

Yes, you can find metal dies and home cutting machines that will cut multiples of the same design. You are limited to someone else’s design and size, however.                 You also won’t get the relaxation and satisfaction of doing something yourself with your own hands.
Not to open a can of worms here! But sometimes doing something with your hands is better than a pre-made item.
Papercutting also encourages your fine motor skills, that you use with many other activities.
Laser cut, WoodpeckersCrafts

I do want to share one more larger cutting-

By Cindy from papercutting.blogspot.com

Next I have some dimensional eggs to share with you. The company SAS (Some Assembly Required) has been around a looong time. They continue to develop fabulous patterns and designs that are available in different formats. Nope, I don’t get anything from them. I just like their products


some-assembly-required.com

The photos on the left are just a FEW more of the many things you can make with their egg pattern.

Here are a few patterns from another company to make your own 3-D eggs-

Posted by Zsuzsa Balint Lajosne’, Pinterest


PaperCutGiftsDesign, Etsy

This paper lantern is available as an SVG file from Van3DSVG on Etsy-

Etsy

…and here is a pop-up card from Hallmark-


Another fun paper cutting activity is to cut garlands or paper chains. The first photo shows you how to accordion fold your paper. Next it shows how you must leave areas attached along the sides, so your garland holds together.

Marilyn Hofer, Pinterest


Jannette Randeberg, Pinterest

Here are a few patterns for you to try-


Creare con La carte, Pinterest

…and a finished garland-

W
You can make your garland as long as you want by overlapping 2 of the images and glueing one garland to the next one.

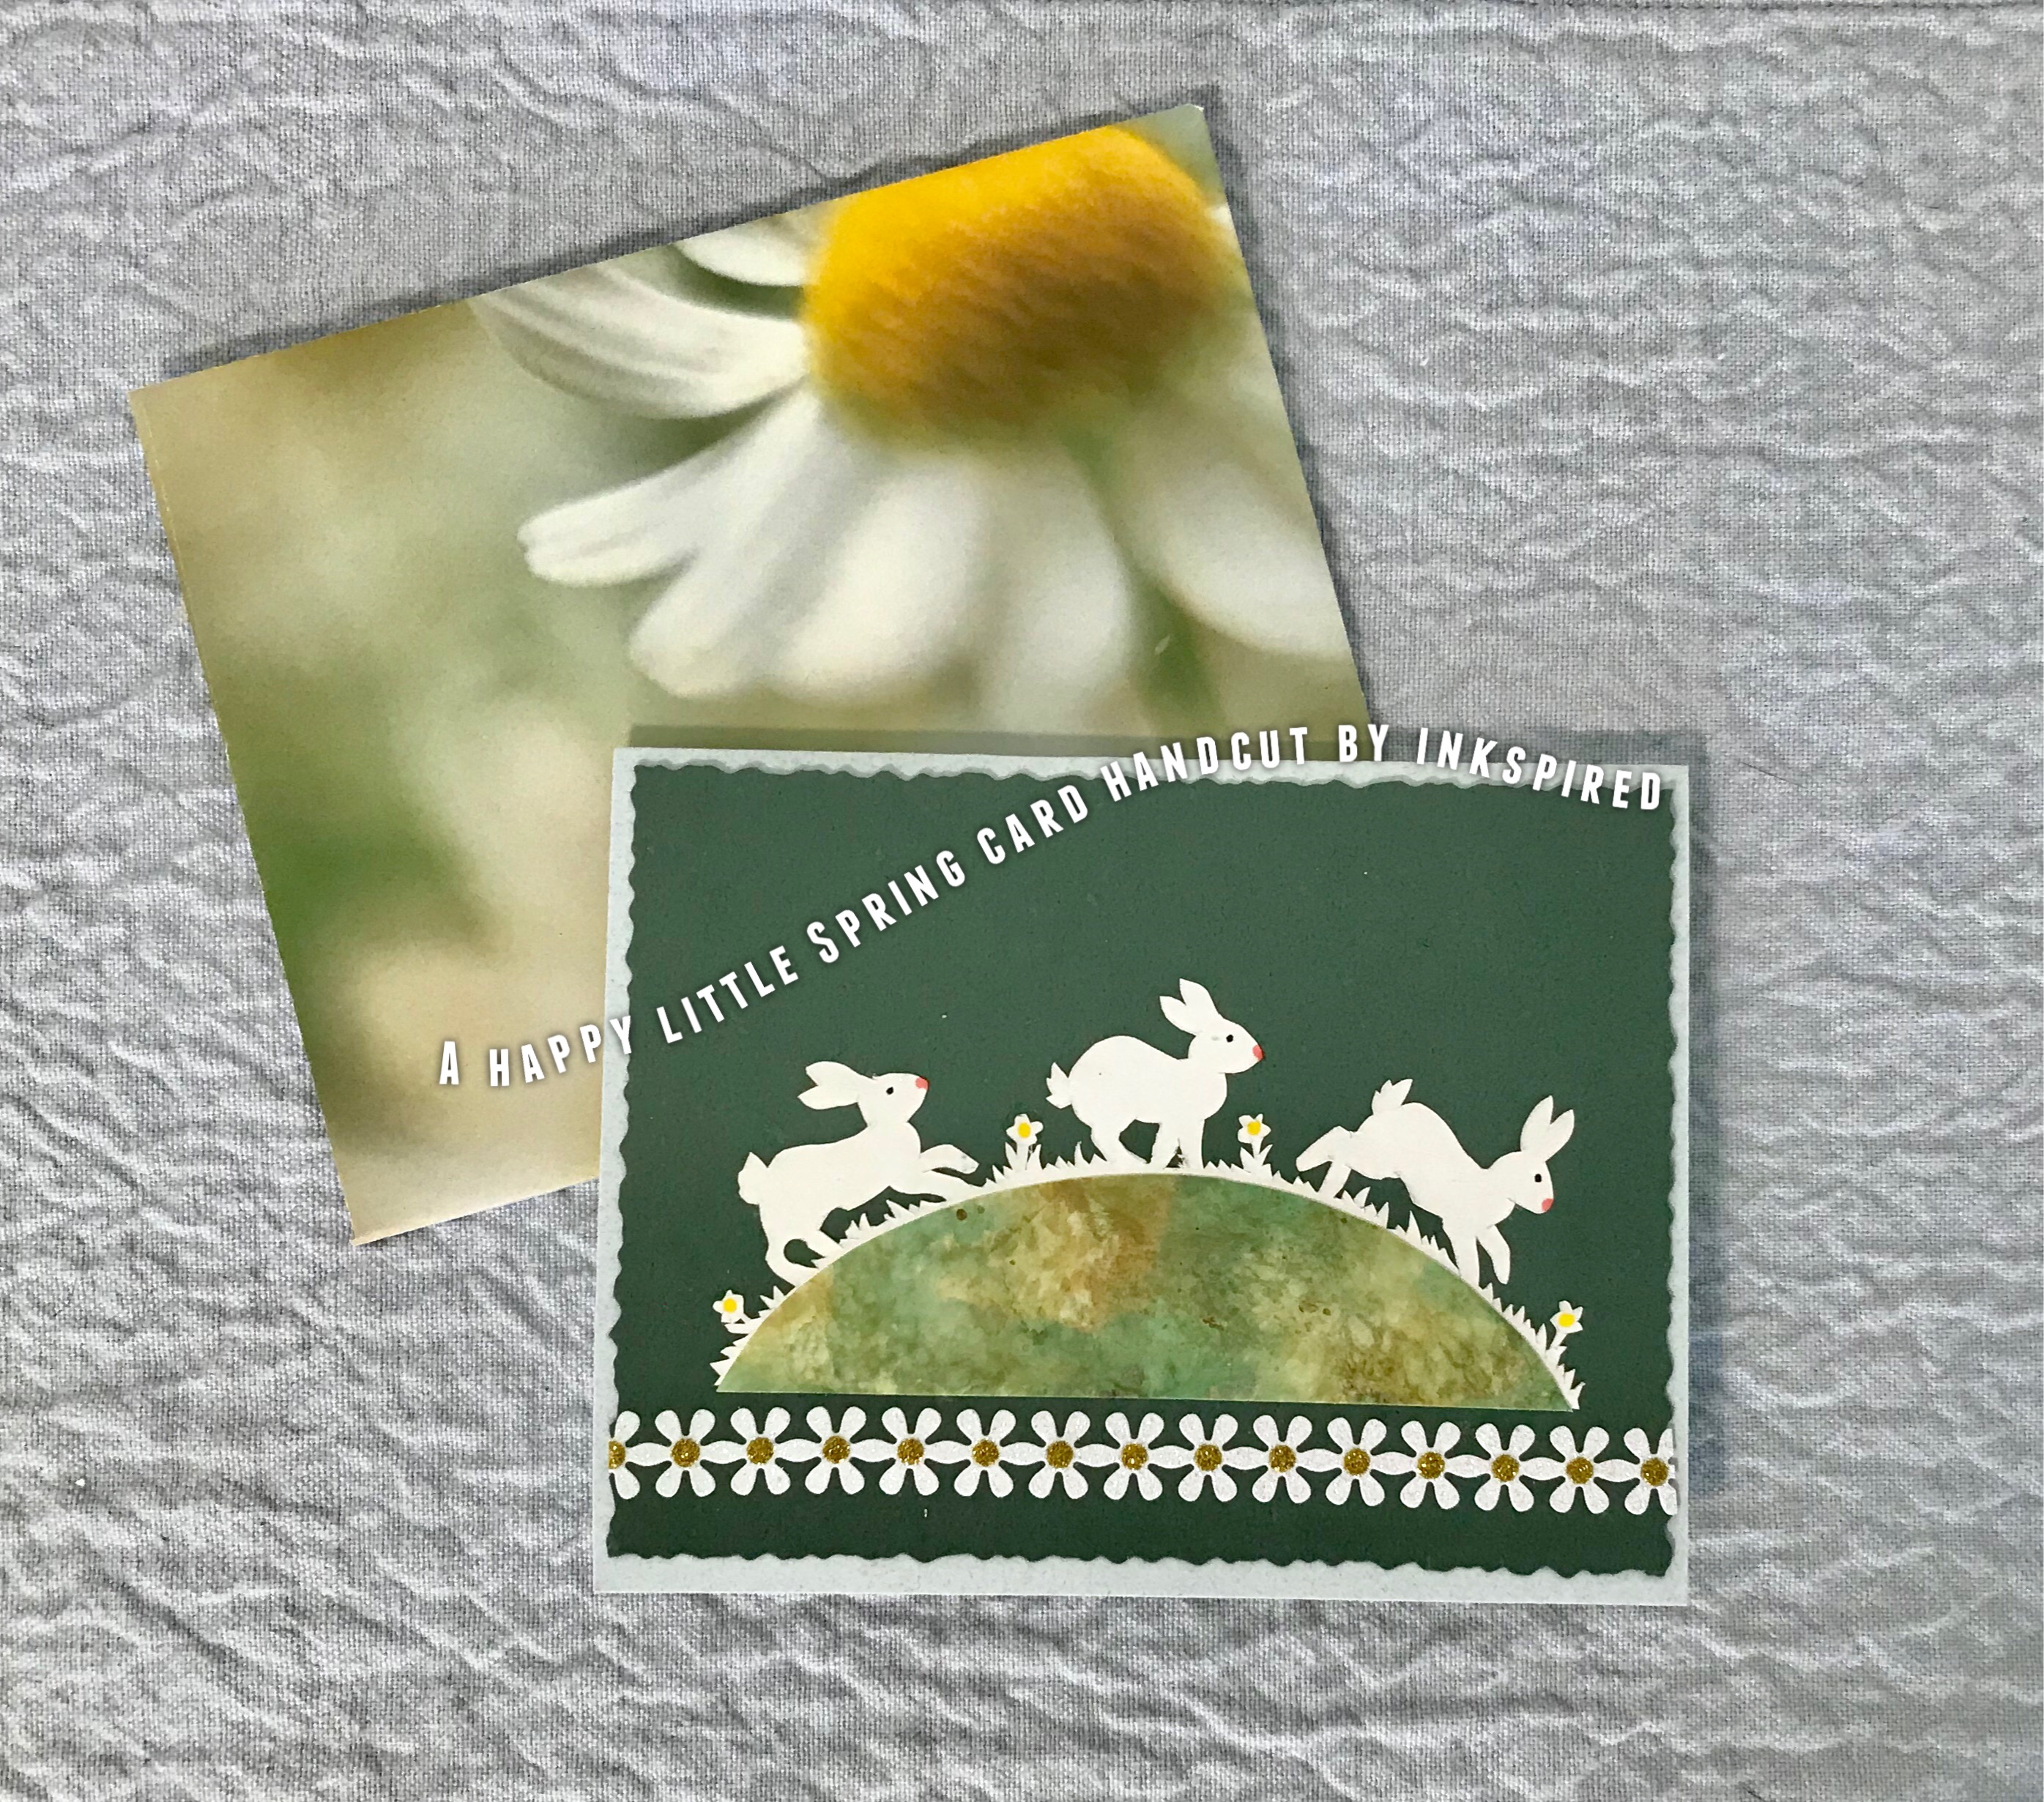
I hope you try out some of these paper cuttings. Warning!! You just might become addicted!

Dagmar Valasikova, Pinterest

‘Til next time,
inkspired


Wednesday, January 15, 2020

Scissors 101

Welcome!


Using a new app!
WordPak

Easy to use - you type in words you want and then can choose preset color combinations,
choice of shapes and your font choice.

How many languages can you recognize in the above heart?

Hint: they all say ‘welcome’.

Kaleidoscope by inkspired 

I am constantly trying to clean/put away/organize
my stamping/craft room.
But then, I find a project I want to work on,
so my surfaces will be once again covered!

Recently I found a folder with some of my completed
paper cuttings.
It was fun to see them again!

 Bremen Town musicians
American Collection, Back Street Designs
Hand cut by inkspired 

I have no idea why they were in a folder, 
and not framed and hung!

Swans
American Collection, Back Street Designs
Hand cut by inkspired 

Many of my papercutting patterns are from the now out-of-print Back Street scherenschnitte series of books.
You can Google them and find the patterns 
online and free now.

Hand cut by inkspired 
American Collection, Back Street Designs


Some I find in craft magazines.

Hand cut and pierced by inkspired 

Some patterns I get from papercutting books.

Hand cut by inkspired 

I am always on the lookout for new patterns!
I have even made a few patterns of my own.
😁
Of course, do I have any photos of those?
Nope!
Oh well.

Parchment hand cut by inkspired 
Hearts & Flowers, Back Street Designs

(I think I may watercolor this one
to give it some added dimension and interest.)

Scissors tips

Now, I did call this blog Scissors 101,
so I best pass on a few tips for you!

1. Always use the sharpest scissors you can find.
Paper is very dulling to scissors.

2. Use your papercutting scissors ONLY for paper.
Other materials may cause nicks in the blades,
which may affect how smooth your cut is.

3. Scissors with very short blades work well for 
delicate/intricate cuts.
Try to find some with longer handles.

4. Many ‘purists’ use only black paper.
Experiment with different weights and colors!

5. An Xacto blade is used for small, straight cuts.
I like Fiskars fingertip blade holder.

6. Do not be cheap. Change out your blades frequently to avoid tears in your cutting.

7. A self-healing mat is not a must, but it sure helps!
You can find these in the sewing/quilting sections.

8. To access an area inside the cutting, use a hole punch.
Now you have room to fit in your scisssors blades
without risk of tearing the paper.

9.***Very Important!!!
When you are cutting, move your paper around,
NOT your scissors!
This may take some initial re-training of scissors habits,
But
It will make all the difference in your cutting!

Hand cut twice to make a stand up 
dimensional centerpiece.
Pattern is from Papercuttings by Alison.

She no longer sells her patterns on paper or books.
She has opened a digital download type site however.

I so hope you will go grab some scissors,
an old magazine or greeting card
and cut something out!

I find it very satisfying and relaxing.

‘Til’ next time,
inkspired

Kaleidoscope by inkspired

Truth: (usually experienced before 10 am, or coffee)
You really should sit down 
when attempting to put on pants. 
This prevents falling over,
and also from trying to put both legs
into one pants leg...
😁