Hi!
'Purple Passion At The House of Rock'
She does just wonderful painted rocks of all kinds.
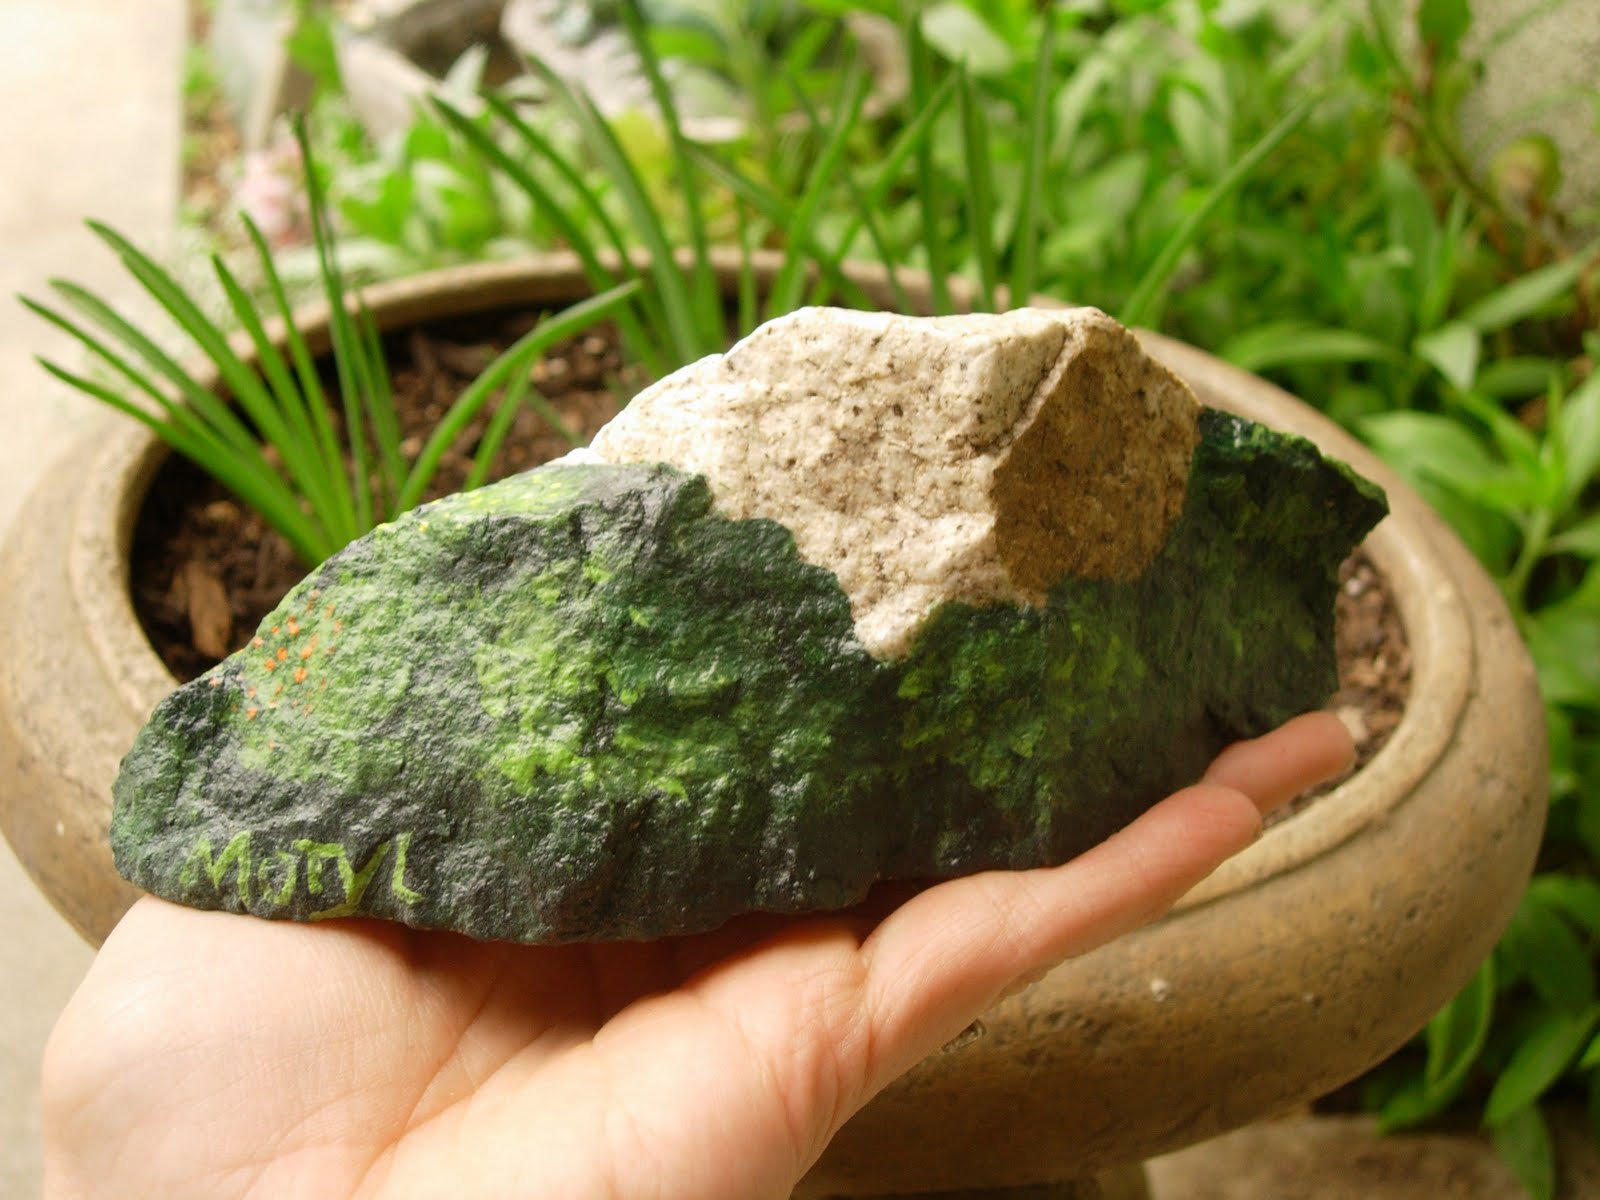
Here is the back view of the same rock:
and here is the side view!
There are many rock painters out there.
I have been pleased to find several on etsy.
I also rock paint!
I got hooked on it when I saw my first Lin Wellford book on the subject.
I LOVED these cottages, and the rock shapes, and the...
well, just all of it!
this is a photo of my very first rock house that I painted.
I decided that the cottages and gnome homes needed some little gnomes,
so I painted a handful of those.
I probably spent more time on 3 little gnomes than I did on the entire house!
Gran'ma and Gran'pa little gnome people
Here they all are, with a penny to show you the approx. size!
Sissy, Uncle Bo, Gran'ma, Roly Polly, Auntie, and Gran'pa
Here are some back and side pictures of my
Southern Plantation clapboard style Rockin' Art
As I painted more rocks, I wanted to see what else I could paint;
so began a quest to purchase ALL of Lin Wellford's books on rockpainting.
Books.................Lin Wellford
All her books will come up.
They are each unique and fantastic!
:0)
Sooooooo much fun.
I have a box of washed rocks downstairs waiting for my paintbrush!
You might think you need special paint, but you don't.
To start all you need are acrylic paints and scrubby old brushes, an old pencil or chalk, and that's it!
I do like to spray mine with a clear acrylic sealant, so they may be placed in your garden if you wish.
I also have several thin, little paint brushes that I use for details.
I even use one that came with a makeup brush kit!
Little Blue Cottage, by inkspired; sold
After painting a few, I tried out the wood filler paste that Lin suggests
for chimneys and overhangs.
You can see in this pic how I added a 'straw roof' overhang, and a chimney.
The back/side view. You can see the chimney poking up!
by inkspired; sold
green thatched cottage with bay by inkspired; sold
Here, I experimented with painting a bay window.
No, it doesn't 'stick out', It is just painted illusion!
Back view
Pink thatched cottage by inkspired; sold
On this one I experimented with painting stairs, getting the shading just right.
back view
I also tried out my skills with different flowers on each one.
side view
If you would like to get started, first I would highly recommend any of
Lin Wellford's rock painting books. I have purchased others', and they just are not as helpful or as creative as Lin's ideas.
'home sweet home' by MyGardenRocks, etsy
Second, go rock hunting.
This usually means go out into your yard, or the side of the street!
I find rocks everywhere.
We did take one fun trip to the mountains and I gathered rocks
from the road side, safely of course!
Look for rocks that can sit flat. That really helps when you are painting houses.
Word of Caution:
Don't get 'conglomerate' rocks where it looks like several different kinds of rocks have been pressed together. I find these mostly on the sides of roads.
They may disintegrate/crack apart while you are painting, or
horrors
after you are done painting! (and they're a pain to try and paint too)
Third, gather acrylic paint (doesn't matter what brand),
some old brushes that you can scrub your first layer of paint on with,
a piece of chalk or lead pencil
and some brushes that you can paint a fairly thin line with.
Fourth, scrub your rocks. I use an old nail brush and warm water.
If I think there is something else, I use a mild detergent with lots of water.
Pat dry. Set out to finish drying.
This is why I have a box of rocks labeled "washed". So I can pick out one of those rocks and get started immediately painting.
I like to have some idea of what I want to paint, but I usually don't sketch it out on paper or anything. I kind of let the rock 'talk' to me. The rock will show me where the nooks and crannies and bumps are,
and ideas form of what those might become.
Another Word of Caution:
You really don't want crevices or cracks in the rocks.
I find them hard to match any kind of 'finished' product.
If they are deep, you also run the risk of disturbing a
"critter home". Ick. Let them live their life in their rock, outside!!
"Memory Tree Lane" by MyGardenRocks, etsy
I also look around and see how other people have painted their homes.
I get inspiration from magazines, tv shows, book covers, and even houses.
Michael and I took a one day trip with our (then) dog Koda.
We picked Boulder, CO, USA as Boulderites are known for their
sometimes quirky and wacky styles.
We found a neighborhood that went back to turn of the century mining days,
so there was lots of architectural interest,
fun, classic Victorian colors and embellishments.
I like looking for quirks and details.
I like turrets, and different roof lines.
Porches are so fun, with different columns, railings and steps.
Step Five: Take your rock, and your chalk or pencil (both will be covered by paint, so don't worry) and sketch out the major details, like door placements, windows - shapes and sizes. Add in areas where you want to paint something like a tree, or shrubbery. Something like that.
Don't get too detailed at this point or you will go crazy!!!
Remember, these are just guidelines, and they will be painted over.
Sweet Salutations by MyGardenRocks
Note how she leaves some of the rock unpainted!
Sixth: Start painting. Lin recommends that you outline your windows first. Then the door(s). Then paint the largish areas next - like the walls, sides, roof, etc. You are not finishing here, you are just laying down basic color patches.
Good! You are doing great!
Put the rock down, and take a breather.
Let the paint dry so you aren't smearing as you go.
"Wee Blue Happy House" by LuluRocks, etsy
Now you can paint details. You can be incredibly intense in detail,
or go with a more casual look.
LuLuRocks on etsy does a more casual approach, but her homes are just darling!
"Misty Meadow Elfin Cottage" by LuLuRocks, etsy
I love her bright colors!
Here is an example of a very detailed painter of rocks:
"Stone Fairy English Cottage"
Very impressive skills!
However, I am never going to paint quite as perfect as that.
Maybe you won't either.
But that's okay!
Lin suggests that you paint your window areas white, then outline with black.
I vary a little with the next step.
I like to paint the inside yellow (for firelight)
or paint in some opened curtains (for daytime).
Then you can outline your window panes in black.
Go back with black mixed with some white for a dark grey/black. This will be your 'shadow' paint. Pick one side for the light to be shining.
So, for example, let's pick the right side.
That means that your shadows will be on the LEFT, with the highlighted section on the RIGHT of things.
I know, clear as mud. Think of a pole with shadow on the LEFT, and the highlighted part on the RIGHT. That means the sun is shining from the RIGHT.
The LEFT side is in shadow.
You want to keep this idea of where your light is shining from for ALL your window shadows.
You will be painting shadows on all the vertical posts, and probably the bottom posts. For bottom shadows, you paint the highlighted part on the TOP, and paint the shadows on the BOTTOM.
So....
Black stripe, horizontal.
Lighter grey stripe on the top,
leave the black in the middle,
and you can use a darker grey strip on the very bottom.
Here is a close-up of the door on one of MyGardenRocks houses -
See how there's light, then brown, then black, so the light is coming from the LEFT. Don't get confused too much though, as she has also lined all of her features, like the door, with black.
Here is an example where NO shadows were painted:
That's okay too! It gives it a more simple, almost cartoon look. But overall,
cute and adorable!
Well, that should get you started on a very
CHEAP
LOW BUDGET ORIENTED
UNIQUE
AND ONE OF A KIND (ooak)
fun craft!
If you are just too confused on my basic trying to explain shadows,
really,
go buy one of Lin's books! She is an excellent teacher.
Take pictures and show me your talent!
I will be happy to post your pix if you want me to!
Leave a comment!
Does this sound like something you might like to try?
Leave a comment!
"Gnome House with Sunflower Roof"
Have a great day!
inkspired